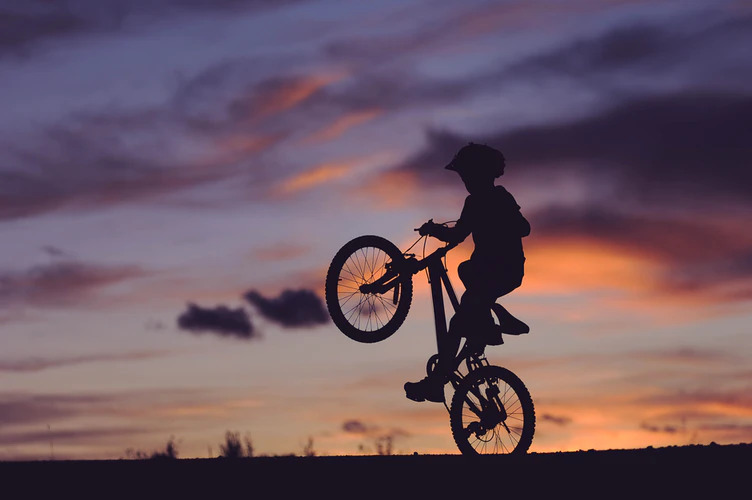
Being able to do a wheelie on a mountain bike (MTB) is a pretty cool thing to achieve. It is also a useful skill to develop when mountain bike riding, particularly as the terrain can be uneven. Here’s a step-by-step guide about how to do one. With a bit of practice, you’ll be able to impress your friends, whilst also being able to navigate over objects instead of around them.
Prepare
- Wear your helmet, pads, and gloves to protect against any injuries. Confidence is key, so knowing that you’re protected when first attempting a wheelie will pay dividends.
- Ensure there is nothing wrong with your MTB and that it doesn’t require any repairs that would either compromise your safety or prevent you from attempting a wheelie.
- Ensure your pedals are flat or clipless to allow for smooth usage when doing your wheelie. This is because you want to gently push your pedals rather than use force when attempting the wheelie.
- Place your saddle in the lowest position to lower your center of gravity. By doing so you will have a better balance. Your upper body will have better control of its movements. Make sure you’re not sitting too low by lifting the front wheel at standstill and leaning back on the seat.
- Shorten the stem by raising the handlebars higher to improve your bike stability.
- Remain in a lower gear and keep your finger hovering over your back brake. If you pedal too fast then you will find controlling your speed more difficult and it will also be difficult to lift the front wheel.
Starting Off
- Aim for practicing on the smooth ground so that you do not have to consider how the terrain will affect your first attempt at a wheelie. Ride your mountain bike as you normally would, to begin this simple trick. Then, lower your shoulders whilst leaning forward so that your weight is shifted from your sitting position to over the handlebars. This is in preparation for throwing your weight back.
- Slowly ride along in a straight line, in a low gear.
Remember: Do not keep your weight over the handlebars once your front wheel is in the air.
- Turn your crank to the 11 o’clock position.
- Pedal down and push up the handlebars simultaneously to initiate your wheelie.
- Remain seated, with your weight back and arms straight to help stabilize your wheelie. Your weight will hold up your front wheel, rather than your arms. This is to prevent them from tiring out prematurely.
- Lift your front wheel until it no longer requires the most effort. This is when you have ascertained the best balancing point.
- By continuing to pedal in a consistent manner you will be able to maintain your wheelie for longer.
- Control both the vertical and sideways balance of your MTB; complete the latter early otherwise you won’t be able to rectify it.
The sideway balance can be rectified by sticking out a foot or knee, away from the bike or turning the handlebars in the opposite direction. Remember to straighten the handlebars when your front wheel hits the ground, otherwise, you could fall over or on the handlebars.
In respect of the vertical balance, you can manage that by using the rear brake if you’re leaning too far back or by pedaling if your front wheel begins to drop.
- Throughout this, keep your finger lightly touching your rear brake whilst the others hold the grip to maintain greater control.
- When you want to end your wheelie either lower your front wheel until it’s on the ground or stops pedaling.

Safety Pointers
- Tap your rear break with your finger in the beginning to maintain greater control over your bike. You can gradually stop this as your confidence increases.
- Don’t sit too far back on your seat otherwise, you may tilt your bike back, landing on your back.
- Riding your MTB upwards, on a slight incline, may help you lift your front wheel at the beginning of you practicing to do a wheelie. If you do this on dirt or grass, it may be safer as it is a softer landing than gravel or concrete.
- As you gain confidence, you will naturally know the ideal speed to achieve wheelies on different terrain and ability.
All these movements are intricate and happen instantaneously after one another. This makes it appear as if they are happening all at the same time and why a wheelie can take time to achieve, but undoubtedly practice is key. You will become better the more you try, despite initially being a novice. The wheelie is primarily an MTB maneuver to go over small objects like rocks and logs, so there is a practical aspect for learning something that may initially seem like a cool thing to do. The main thing is to stay safe and take the necessary precautions to avoid any injuries.

