Do you want to create your very own line of fashionable clothing? Here are some clothing photography tips that will help you shoot apparel like a total pro.
Knowing how to photograph clothing is a skill you should master if you sell apparel online. Buyers look at pictures first before considering whether to buy a piece of clothing.
You may have quality items but unflattering photos of them will prevent them from selling as expected. Adding a high-quality, artistic touch to your visuals can help to attract customers and increase sales. Read on for our top clothing photography tips that will help your clothes sell like crazy.
1. Hire A Model
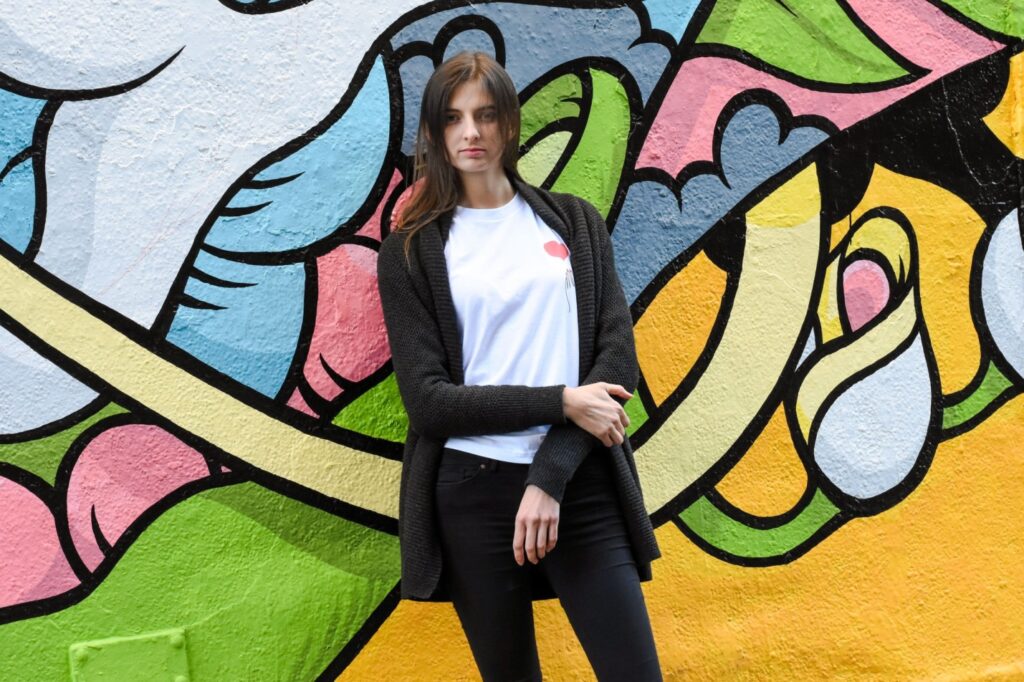
It is easy to sell clothes once buyers see what it looks like on someone with a similar build to theirs. For good images, take enough photos of your model in different poses and angles. Use only the most flattering photos that show your apparel in the best light.
Photographing clothes on a surface like a bed or a table doesn’t always show them in a flattering manner. It also makes it impossible for consumers to know the fit and shape of the item. If you do prefer to use these poses for artistic purposes, be sure to have some straightforward, full-length ones as well.
You can use the ‘ghost mannequin’ technique where you edit out the mannequin from the final image. When purchasing mannequins, try to find those that are as close to the gender and body type of your target market as possible.
2. Take Several Pictures From Different Angles
Another tip for clothing photography is to have many photos showing apparel from different angles. Consumers need to see as much of the clothing as possible. Focus on important details such as any special branding, zippers, buttons or patterns
People want clothes that will make them stand out so highlight any features that make your clothes unique. You should also show the front, side and back of the item.
3. Position Your Camera Properly
You should place your camera in the proper position to take good photos. Make sure that the camera is in front of your clothing item.
For skirts and pants, the focus should be in front of the hips. For shirts, you can place the camera in front of the chest area.
Place the camera as close to the clothing item. Do not use digital zoom as this will crop the photo and distort the image quality.
4. Prepare Your Clothes to Look Best
Another tip for how to take pictures of clothes is to prepare them for the best presentation. For example, iron the clothes and remove any price tags and stickers.
Carry an iron or a steamer to the photoshoot so that you can smooth out any creases that appear at the last minute. Also, carry a lint roller to remove dust particles from dark clothes. Photoshoot locations may be dusty and clothes may get dirty during the day. So it is good to have a lint roller and other stain removers on hand.
Another indispensable item to have is a stiff brush that can remove dirt and fingerprints from materials like suede and fake fur. You should never post any images of creased or stained clothes. Either take the stains out or select another flawless piece.
You can edit out unflattering details from images but its easier to remove unnecessary elements before taking photos.
5. Use Pins and Clips to Fix Clothes on Mannequins or Models
Clothes may not fit properly on mannequins so you should use safety pins or sewing pins to fit them. The apparel should be form-fitting and tight on the models so use clips to pull back any loose parts of the clothes.
You can also use masking tape to fix loose straps or any parts of the garment that are falling off the mannequin. Double-sided masking tape is best as it will not damage the mannequin.
If you need any parts of the garment to defy gravity, then fishing lines are best. For example, if you need handbag straps to stand up you can tie them up with a fishing line (which won’t appear on the photo).
If you do not have a model or mannequin and you need to take photos on a flat surface, use some tissue to fill out the clothes. This will bring out the reality of how the item will look on your consumers. Other than tissue you can also use crepe paper or cotton wool.
6. Use the Right Camera Equipment for Apparel Photography
One obvious tip for how to photograph clothes like a professional is to use the equipment that photographers use. It is hard to achieve the same kind of results as a DSLR camera with your cell phone. DSLR cameras produce sharp images because they have studio lighting connectivity.
Lighting is another investment you should make because the details in your clothes will appear through proper illumination. Invest in a lighting kit that has a backlight, key light, and fill light.
You also need to use the right camera lenses to portray your images in lifelike sizes. It is advisable to use lenses with a focal length that is over 50mm as shorter focal lengths will make your clothes appear bigger.
Other essentials equipment pieces are backdrops and tripods. A plain backdrop enables the full focus to be on your item of clothing. Tripods can help to stabilize photos so that you don’t end up with a blurry image.
Don’t forget to brush up on some editing and basic technical skills. This can help getting the end result of your photos become easier. For instance, learn programs like Adobe Photoshop or how to upload photos to iCloud if you’re doing any phone photography.
The Importance Of Professional Clothing Photography
Using impressive clothing photography on your website can help increase your sales and grow your business. They make your brand look more professional and presentable. Use our tips to ensure you get sharp, quality images that sell.
For more tips and advice, read the rest of our blog.