Many cities in the United States are feeling those winter temperatures dropping and snow clouds looming. If you have already turned on your furnace without performing safety checks, you will want to read this ultimate furnace cleaning professional guide to maintaining your furnace and preventing many of the hazards that home and business owners forget. Prevention is key when it comes to furnaces since gas, propane, carbon dioxide and usage are all issues with winter heating. The following tasks are affordable, timely and easy to complete yourself. You will have peace of mind that everyone in your home or office is safe and heating bills are low all winter.
Why Is Furnace Cleaning Important?
Furnace cleaning and maintenance are critical as dirt and debris in the filter, blower or heat exchanger block will cause it to work harder to keep rooms at the set thermostat level. Dirt also makes your furnace use more fuel which will cause it to work less efficiently. A furnace cleaning will ensure that you extend the shelf life of your product without investing in costly repairs.
Get Needed Supplies
Before starting this maintenance task, you will need to gather the following supplies:
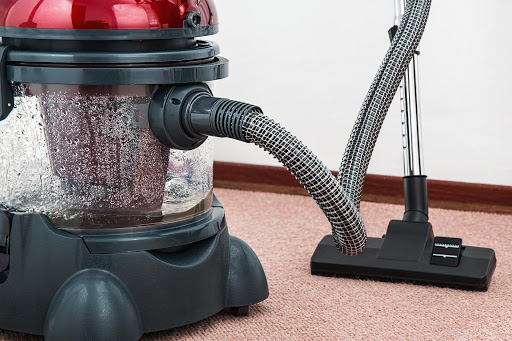
- Handheld vacuum
- Vacuum with a hose
- Screwdriver
- Soap and water in a spray bottle or a cleaning solution
- Cleaning rags
- Flashlight
- Tape (for fan assembly removal)
- Marker (for fan assembly removal)
3 Steps to Replace or Clean Your Filter
1. Perform a Furnace Filter Inspection
Turn your heating, ventilation and air conditioning (HVAC) or furnace, breaker and thermostat in the off position. Unscrew or unhook the access panel on your furnace, which is normally located under the return air duct and within the blower system and duct. The filter will be inside the front. With some furnace models, there is also an access door for the filter as well.
2. Remove the Furnace Filter
Lift up and pull the filter out of its track gently. If it does not come out easily, check for debris or dirt that is blocking its removal. Clean around the edges carefully.
3. Inspect the Filter
Take the time to check the filter for damage, dirt or debris. Put the filter up to a light if you are unsure. If you see no light, it is dirty. If it is dirty, you must clean or replace it, which varies by type. You want to replace it at least once yearly. A dirty filter is a hazard as it will be more difficult to push through the air. It also reduces your air quality output. If you decide to clean it, use soap and water and rinse thoroughly. Dry before replacing it.
If you have a disposable filter, take a picture or make a note of the size and model information. When replacing it, gently secure it back into the tracks and close the access door. You will need to inspect your furnace every three months to avoid dirt buildup.
6 Steps for Clean the Blower Assembly
1. Disconnect from Power Source
Check to ensure your furnace is unplugged and power sources connected to your furnace are also off, including the backup generator or battery supply. If you fail to do this step, you are in danger of serious bodily injury and electrocution.
2. Remove the Furnace Panel
To get to the blower assembly, you will need to remove the front panel entirely. Remove the screws of the panel or lift the panel from its support hinges, depending on the model.
3. Remove the Fan Unit
Fan units are normally secured to the furnace on a slide in-and-out track. Also, take the time to look for wiring. Make a note of where and what they connect on the fan before you remove them. It will make your reassembly easier. If it helps, you can place a small piece of tape on each wire with a note of where it belongs. Remember that if you forget to remove it that it will become debris inside the fan. Take out any screws that hold the fan in place and put the fan aside until you are ready to replace it in the furnace.
4. Clean Your Furnace Blower Assembly
Make up a soap and water solution and have a spray bottle and rags ready for this task. You will need a small brush as well if the blades are caked with dirt. Look for your blower assembly, which is the part of the furnace that pulls air in the back of your furnace and forces heated, clean air out the front. This part, when dirty, will push the dirt and grime through the vents and into your home or office. So, clean it thoroughly to guarantee its optimal usage all season long.
5. Vacuum Out the Blower Assembly
Use a low-powered handheld vacuum to get the remaining dirt off the belts and blades as it will ensure you get all the hard-to-spot areas. You may also use a damp cloth.
6. Restore the Fan Blower Assembly
Now that everything is clean and dry, you will need to slide the fan blower assembly back into its place, reattach wiring and check to ensure they are in the right positions. Plug your furnace back in, check breakers and reconnect the backup power sources.
3 Steps to Clean the Heat Exchanger Block

1. Unplug Power and Clean Block
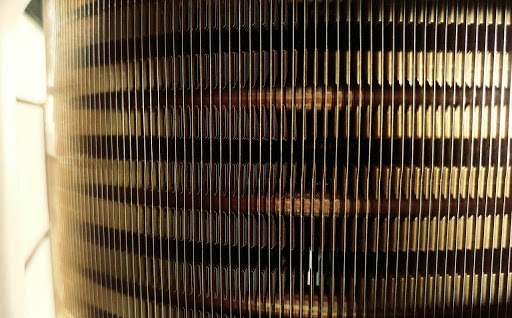
Unplug the power sources or turn off the gas before starting this task. Use a brush or a damp cloth to loosen and remove the dirt and debris buildup off the heat chamber block.
2. Vacuum the Block Assembly
Use a vacuum hose to clean the heat exchanger block assembly chambers to remove the debris that came off when you cleaned the block.
3. Reconnect the Power or Gas Source
Replace the electric plug or gas connection. Turn your furnace on after finishing this heat exchanger block maintenance which should be done seasonally.
Whether this a home that has been in your family or generations or is a brand-new home, you will want to repeat this routine at a minimum of once a year, although, experts agree that checking seasonally is better to keep your furnace at its most efficient performance level.