
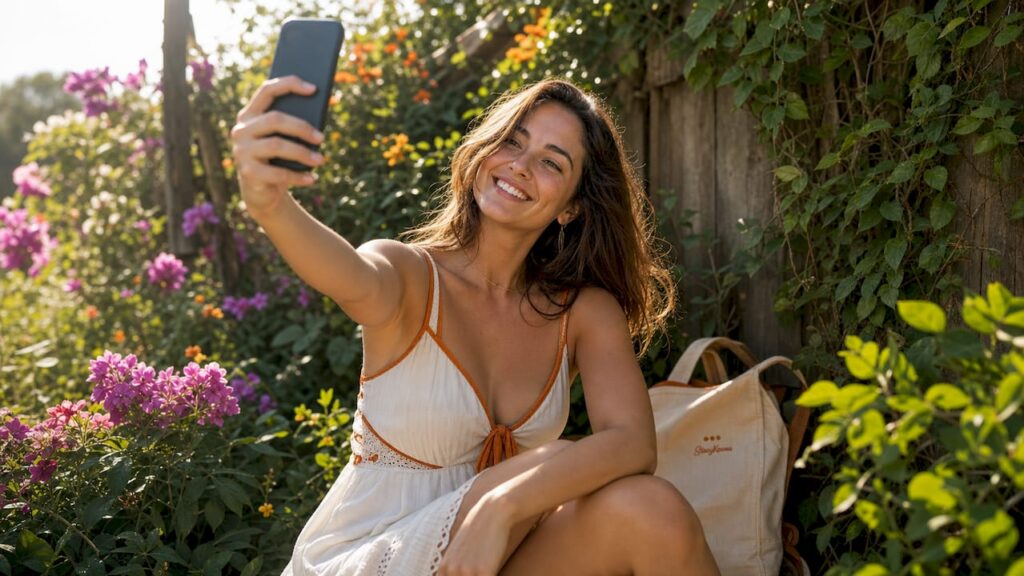
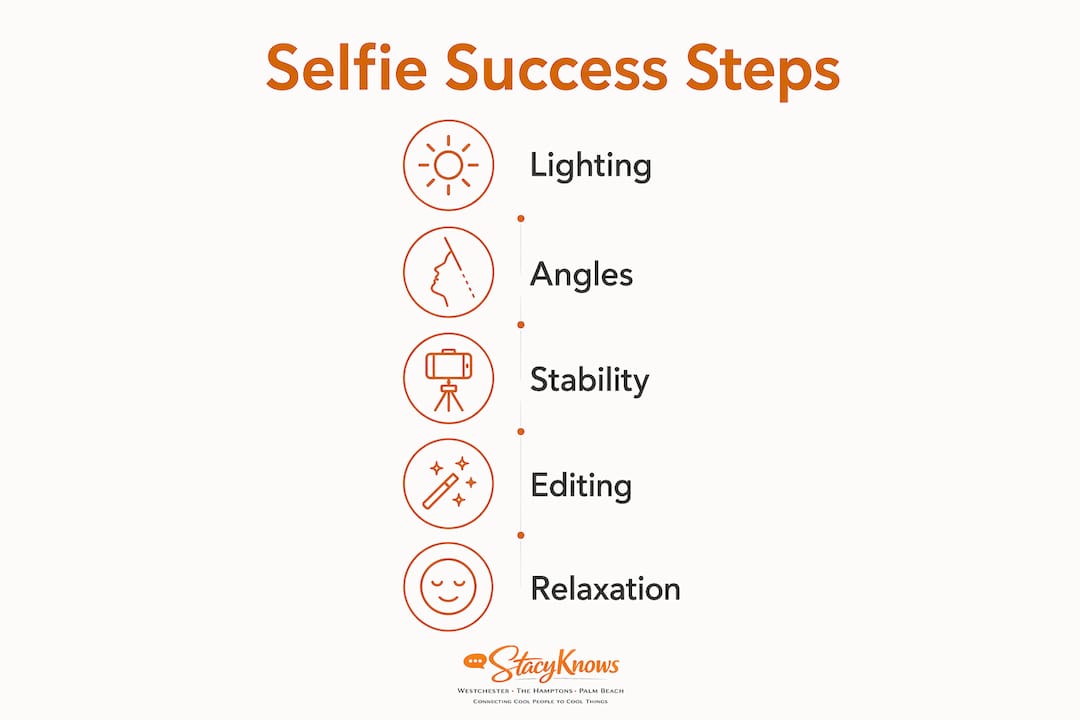
A great selfie is defined by three elements: lighting, camera angle, and stability. Get those right, and you rarely need heavy editing afterward. Most people reach for filters first and wonder why results still look off. The real fix happens before you tap the shutter. This guide covers every practical technique you need, from finding the best window light to posing with intention, so your selfies look polished and natural every single time.
How to take good selfies with the right lighting
Lighting is the most important factor in any selfie. It shapes your face, controls shadows, and sets the entire mood of the shot. Get it wrong, and no filter will save you.
Natural light from a large window or open shade outdoors is your best option. Face the light source directly, or position yourself within 30–45 degrees of it. That angle fills your face evenly and keeps shadows soft and flattering.
Here is what to avoid and what to use instead:
- Overhead indoor lights: These cast harsh shadows under your eyes and nose. Step away from ceiling fixtures whenever possible.
- Direct midday sunlight: It creates squinting and blown-out highlights. Move into open shade instead.
- Fluorescent office lighting: It adds a greenish cast to skin tones. Natural light or warm LED panels are far better.
- Ring lights and selfie lights: Tools like the Neewer ring light or any clip-on LED panel work well indoors when natural light is limited. Position them at eye level, not above.
- Reflectors: A simple white foam board or even a white wall opposite your light source bounces light back onto your face and fills in shadows.
The golden hour, the 30–60 minutes after sunrise or before sunset, produces warm, diffused light that flatters almost every skin tone. If you shoot outdoors, plan around it.
Pro Tip: Manually set focus and exposure by tapping your face on your phone screen, then slide the brightness bar up or down. Auto-exposure often overexposes bright backgrounds and underexposes your face. Taking control of that slider takes about two seconds and makes a visible difference.
What are the best angles and poses for flattering selfies?
Angle is the second pillar of smartphone photography. A small shift in camera height or body position changes the entire shape of your face in the frame.
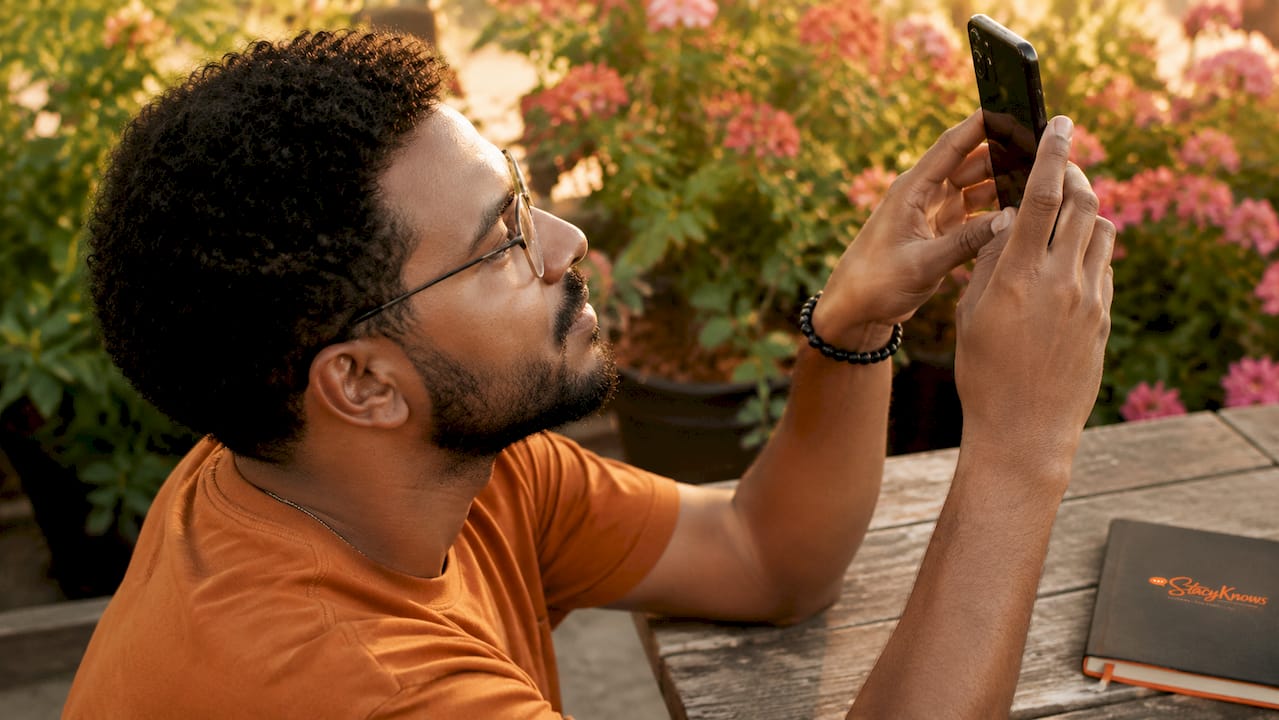
Positioning the camera slightly above eye level and angling it down defines the jawline and avoids the chin distortion that comes from shooting upward. That upward angle widens the nose and shortens the forehead. It is one of the most common mistakes beginners make.
Body position matters just as much as camera height. Try these adjustments:
- Turn your body 30–45 degrees: Turning at an angle adds dimension to your face and shoulders. A straight-on shot can look flat.
- Lean your torso slightly forward: This creates a sense of energy and presence. It also slims the appearance of the shoulders.
- Tilt your chin slightly down and forward: This sharpens the jawline. Think of it as bringing your forehead slightly toward the camera.
- Turn your head left or right: Most people have a preferred side. Spend at least five minutes experimenting with different head turns to find yours.
- Relax your expression: A slight smile, a soft gaze, or even a neutral look reads better than a forced grin. Think of something that genuinely makes you happy right before you shoot.
The secret to a great selfie is finding your good side through testing, not guessing. Take a burst of shots with small adjustments between each one. Review them side by side. You will notice patterns quickly.
Pro Tip: Before you shoot, drop your shoulders, unclench your hands, and breathe out slowly. Relaxation right before shooting prevents the stiff, staged look that kills otherwise good selfies. It sounds simple, but it works every time.
For more ideas on how composition and background choice affect your photos, Stacyknows has a solid guide on beach photo techniques that applies directly to solo shots too.
How do you stabilize your camera for sharper selfies?
Camera shake is the quiet killer of selfie quality. Even slight movement during the shot creates blur that no editing app can fully fix.
Using a timer with a stable surface and rear camera significantly increases image clarity. The rear camera on most smartphones has better optics, a higher megapixel count, and optical image stabilization that the front camera simply does not match. That difference shows up clearly when you zoom in on the final image.
Here is a step-by-step setup for sharper selfies:
- Place your phone on a stable surface or tripod. A Joby GorillaPod or any compact phone tripod works well. Even a stack of books on a table is better than a shaky hand.
- Set the camera at least 6–8 feet away. Holding the phone too close distorts facial proportions. Distance removes that fish-eye effect and makes your features look natural.
- Use the built-in timer. Set it to 3 or 10 seconds. This gives you time to get into position and relax before the shutter fires.
- Use a Bluetooth remote shutter. Devices like the Mpow Bluetooth Shutter Remote let you trigger the shot without touching the phone at all. They cost under $15 and are worth every cent.
- Clean your lens before every session. A smudged lens softens the entire image. A quick wipe with a microfiber cloth takes three seconds and noticeably sharpens results.
Here is a quick comparison of the most common selfie setups:
| Setup | Image Quality | Ease of Use | Cost |
|---|---|---|---|
| Hand-held, front camera | Low | Very easy | Free |
| Stable surface, front camera | Medium | Easy | Free |
| Tripod, rear camera, timer | High | Moderate | $10–$30 |
| Tripod, rear camera, Bluetooth remote | Highest | Easy once set up | $15–$40 |
Using distant shots with tripods or stable setups transforms casual selfies into images that look professionally composed. The investment in a basic tripod pays off immediately.
How to edit selfies without overdoing it
Editing should refine a good photo, not rescue a bad one. Mastering light, angle, and stability during the shoot reduces your reliance on post-production filters. That means cleaner, more intentional images that hold up at any size.
When you do edit, keep adjustments subtle:
- Exposure and brightness: Lift shadows slightly if your face looks dark. Avoid pushing brightness so high that skin tones wash out.
- Contrast: A small boost adds depth. Too much makes the image look harsh and unnatural.
- Warmth: Nudging the warmth slider slightly right adds a healthy glow to skin tones. It mimics golden-hour light even in flat conditions.
- Cropping: Crop to a square or portrait ratio that places your eyes roughly one-third from the top of the frame. That follows the rule of thirds and feels balanced.
- Portrait mode blur: Tools like the iPhone Portrait Mode or Google Pixel’s portrait feature add background blur that separates you from the background cleanly. Use it at medium intensity. Maximum blur looks artificial.
Apps like Lightroom Mobile, VSCO, and Snapseed give you precise control over each of these sliders without forcing you into heavy preset filters. They are free and widely used by photographers at every level.
Avoid heavy skin-smoothing filters. Over-smoothed skin removes texture and makes photos look like illustrations rather than photographs. A light touch on the “clarity” or “texture” slider in Lightroom Mobile is all you need. For background ideas that make editing easier, check out Stacyknows’ guide on photography backdrop placement for practical setup tips.
What i’ve actually learned about taking selfies that look real
Here is my honest take: the biggest mistake people make with selfies is treating them like a performance. They tense up, over-pose, and then wonder why the photo looks stiff. The best selfies I have ever taken were the ones where I forgot I was trying.
That sounds vague, so let me be specific. I spent years thinking my “bad side” was just a fact of life. Then I actually did what the research suggests and tested multiple angles in a single session. I took 30 shots with small adjustments between each one. The difference between my worst angle and my best was dramatic. It was not about my face. It was about the camera position.
The other thing nobody talks about enough is confidence. A technically perfect photo can still look flat if you are not present in it. If you want to feel more at ease in front of the camera, working on feeling confident in your appearance off-camera makes a real difference on-camera too.
Selfie-taking is a skill, not a talent. You get better by doing it repeatedly, reviewing your results honestly, and adjusting one variable at a time. Think of it less as capturing perfection and more as learning your own face. That shift in mindset changes everything.
— Stacy
Stacyknows has more beauty tips to complement your selfie game
Your selfie quality does not stop at camera technique. Skin, glow, and overall appearance play a real role in how you look on camera, and that is where Stacyknows shines.

Stacyknows curates beauty finds and tips specifically for readers who want to look their best in real life and on social media. From skincare routines that improve your natural glow to product picks that photograph beautifully, the Stacyknows Beauty Secret Finds page is a go-to resource. You will also find global beauty secrets that most American readers have not come across yet, which can genuinely change how your skin looks in photos. Explore the full collection and find what works for your look.
FAQ
What is the best lighting for selfies?
Natural light from a large window or open outdoor shade is the best option for selfies. Face the light source directly to prevent harsh shadows and get even, flattering coverage across your face.
How high should i hold my phone for a selfie?
Hold or position your phone slightly above eye level and angle it downward. This camera height defines the jawline and avoids the distortion that comes from shooting upward.
Does the rear camera really make a difference for selfies?
The rear camera offers better optics and higher resolution than most front-facing cameras. Using it with a timer or Bluetooth remote produces noticeably sharper, more detailed images.
How far away should my phone be when i take a selfie?
Keep your phone at least 6–8 feet away when possible. Holding it too close causes lens distortion that widens the nose and alters facial proportions.
How much editing should i do on a selfie?
Focus on small adjustments to exposure, warmth, and contrast rather than heavy filters or skin smoothing. Getting lighting, angle, and stability right during the shoot means you need very little editing afterward.
Recommended
- 10 Surprising Ways to Get Amazing Beach Photos for Couples – Stacyknows
- 3 Ways To Feel More Confident In Your Appearance: 3 Top Tips – Stacyknows
- Success in the New Year: Tips for a Good Desk Flow – Stacyknows
- The Best Ways to Protect Your Photos from Damage – Stacyknows
