Painting cabinets is a fairly involved project and requires the proper prep. Whether you remove your cabinet doors or not, it’s important to protect the surrounding surfaces with a drop cloth and painter’s plastic.
Emptying your California kitchen cabinet is also a good idea to prevent drips and other blemishes. Proper cleaning, including sanding, is essential for a quality finish.
Preparation
If you want to update your kitchen without spending a fortune on a complete remodel, you can make huge changes with fresh paint. Cabinet painting is one of the most time-consuming projects you can take on, but the results are well worth it.
To get theYou’lltart with high-quality paint. It will be more expensive to get the best finish, but it will also be easier to apply and more durable. Look for oil-based paint or water-based latex in low or no-VOC formulas, as these will be safer for the environment.
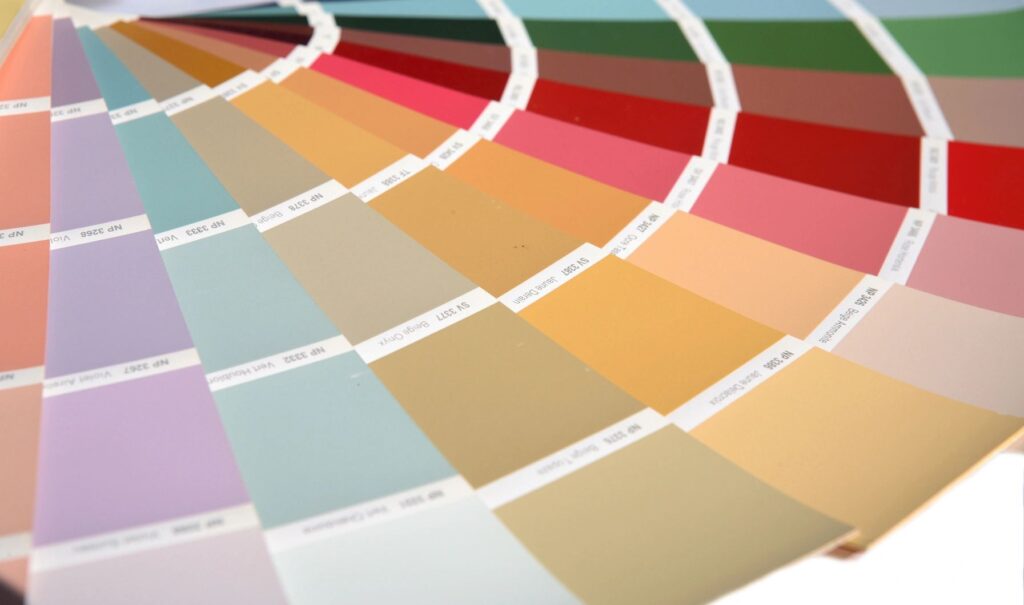
Once you’ve chosen a color, sample it on the wall before committing to it for your cabinets. This will allow you to see how it looks in the room and ensure that your cabinets match. Next, remove all the cabinet doors and drawers and put the hardware in baggies for safekeeping. Depending on your skill level and time frame, you can paint the doors while they’re off or wait to reinstall them.
Primer
Whether starting with stained cabinetry or painting over an existing finish, a good quality primer is a must. If the cabinets are heavily stained, consider a stain-blocking primer that seals knots and other surface imperfections and dries quickly. Otherwise, a normal oil-based or latex-bonding primer will work fine.
After applying the primer, lightly sand to smooth the finish, and vacuum the dust and dirt from your sanding before proceeding.
Use a brush on the edges and tight spots and a foam roller for large, flat surfaces. You may also want to experiment with different roller sleeves, such as mohair or microfiber, to find the one that works best for your project. Allow the primer to dry according to the manufacturer’s instructions. If desired, a second coat can be applied after drying the first. This will help hide brush strokes and create a smooth, professional-looking finish. A sprayed-on paint is an alternative to brushing but requires specialized equipment and has a learning curve.
Paint
A high-quality, water-based cabinet paint will work best in this project, but oil-based options are also available. Regardless of the finish type, ensure the surface is clean before applying the first coat. Wipe surfaces with a slightly damp rag or paper towel, and use a little elbow grease on tough spots.
Once your cabinets are dry, apply a second coat. Apply a thin, even coat, especially over sanded areas. A second coat will ensure the wood is saturated and protected, providing a smooth finish.
It would help if you allowed both coats of paint to dry for at least 24 hours, though you may want to give them longer. After that, you can reinstall your drawer fronts and cabinet doors. It’s a good idea to label them with a number, preferably under the hinges (they’ll be covered by a masking cloth anyway). If you have adjustable shelves in your cabinets, you should remove them and paint them separately.
Finish
If you’re refinishing your cabinets, experts advise applying two to three coats for full saturation and durability. It’s also important to use quality paint that stands up to the wear and tear of your kitchen—traditional wall paint may not adhere well and can quickly fade. Instead, choose a water-based alkyd or acrylic enamel paint that dries quickly and cleans up easily with a wet cloth.
Before painting, remove all cabinet hardware and put it in labeled zip-top bags for easy re-installation once the project is complete. You’ll also want to cover any appliances or surfaces you want to avoid being painted with painter’s tape.
Finally, vacuum and wipe down the cabinet surface with a lint-free cloth to remove dust particles that can waft in and ruin your flawless finish. And remember to lay down a drop cloth or floor protection ($7, Amazon) to catch any drips and spills.