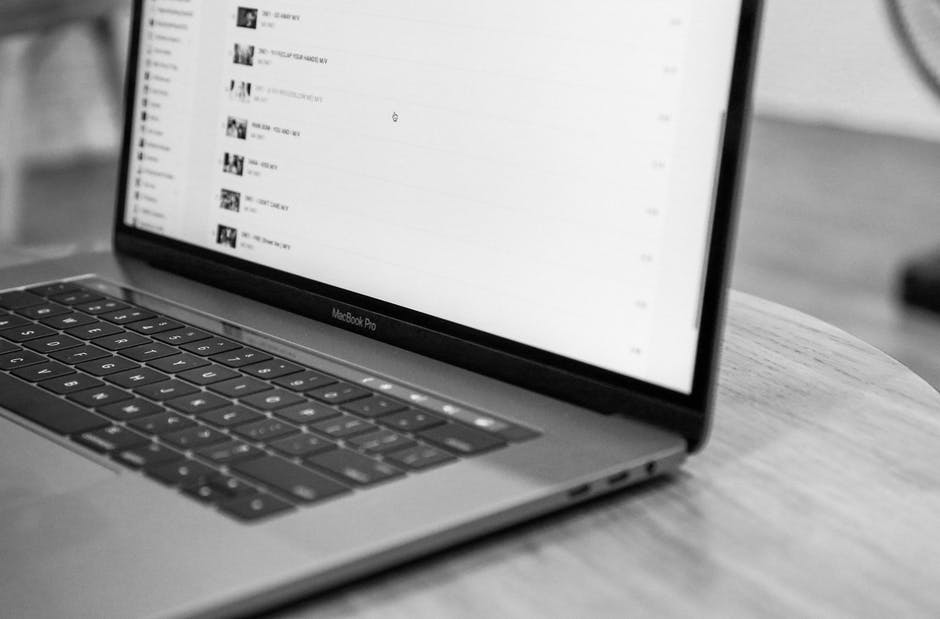
If you enjoy the multitouch screen on your iPad or iPhone, then you probably got excited when Apple announced in 2016 that MacBook Pros would integrate the technology. While you wouldn’t get a full touchscreen on your laptop, you would get a small bar at the top of the keyboard that would open up many cool features.
When first looking at the Mac Touch Bar, you might feel confused with all the options, especially if you’re just used to regular function keys. You might also end up just using basic features on your new Mac and not taking full advantage to boost your productivity.
Take a look at seven things you should know about using a Mac Touch Bar.
1. Know How to Still Use Regular Function Keys
When the first laptop with a Mac Touch Bar came out, not everybody felt excited about the feature. Specifically, some users worried they wouldn’t have easy access to regular function keys that allow them to do common shortcuts in applications.
The good news is that you have nothing to worry about, and you don’t need to be computer savvy to address the issue.
Just locate your MacBook Pro’s physical “Fn” key on the keyboard and hold it down. Your Mac Touch Bar will display function keys you can use as you normally would. To make the Touch Bar go back to normal, just release the key.
2. Set a Default View to Suit Your Needs
By default, your Mac Touch Bar will show controls for whatever app you’re using at the tine. For example, Chrome will show a button to open a new tab, while media software would show playback controls.
However, you can easily change this by heading to the “Keyboard” section of the Mac System Preferences pane. Look for an option that says “Touch Bar shows” and see a list that lets you choose between standard app controls, regular function keys, quick actions, expanded controls, and Spaces.
3. You Can Add or Remove Touch Bar Items
Have you noticed that a specific app control you need doesn’t show up on the Mac Touch Bar? Or perhaps you have wasted space with controls you never use.
In any case, the keyboard settings with System Preferences has a “Customize Control Strip” button. You can then simply drag all the controls you need from an on-screen list right down to your Mac Touch Bar. You can find controls for things like screen savers, power, dictation, audio, and even screenshots.
Consider checking out a Touch Bar MacBook Pro guide for more on this option.
4. Take Advantage of App-Specific Controls
A major benefit of having the Touch Bar on your new Mac is that you can find shortcuts to handle common tasks in just about any application. However, if you’re used to just doing something a certain way, you might wonder whether it’s worth learning this tool.
It definitely is, whether you’re using built-in apps or third-party programs. For example, did you know the Touch Bar allows you to log in to websites on Safari without needing to type a password? You can even use the feature to make purchases online with Apple Pay.
Consider going through your common programs and looking through the controls that show up on the Touch Bar. You’ll find you can complete common tasks like opening browser windows, formatting documents, scrolling through videos, and navigating tabs from the bar alone.
5. Enhance the Touch Bar With Third-Party Utilities
Just like you can install third-party apps on your Mac, you can find utilities that specifically add new functionality to the Touch Bar. For example, some allow for further customization of the controls, let you change the appearance, or add haptic feedback.
You can also find some that change the use of the Touch Bar entirely. For example, you can find fun utilities that turn your Touch Bar into a playable piano or show an interactive game. When you want the regular view back, you can simply close that utility.
So, if you think the Touch Bar is too boring for your tastes, go ahead and try some utilities and be surprised at what your Touch Bar can do!
6. Know Where to Find the Systemwide Controls
If you’re used to regular Mac keyboards, the function keys doubled as controls for things like your screen brightness, volume level, media controls, and keyboard backlight. Rest assured that these controls are available alongside app-specific controls on the Touch Bar.
When you look at the default Touch Bar layout, you’ll see a set of a few such controls on the right end along with a Siri button. This includes screen brightness, volume increase, and mute buttons. But one of the Mac tips and tricks to know is that tapping the arrow to the left will expand these controls to bring back all of the functions you’re used to.
Just tap the “X” on the left side of the Touch Bar to exit once you’re done with controlling your Mac’s settings.
7. Use Finder Smarter With the Touch Bar
Whether you’re browsing photos or searching for a document to share, the Mac Touch Bar reacts to make your job easier.
For example, tapping on a file will bring up controls to preview the contents, add a flag, or even send it to someone through features like Messages or AirDrop. You’ll even find a button on the left that lets you change the file view in Finder and select the sort option.
You can also take advantage of the back and forward arrows to easily move through files.
Take Full Advantage of the Mac Touch Bar
These tips should get you more accustomed to using your Mac Touch Bar and comfortable with the many helpful features available. However, these are just a small look at all your Touch Bar can do, so consider experimenting when using your favorite programs.
If you feel confused about specific controls, you can often find help from the particular program’s support website. For example, Adobe provides detailed instructions on using its complex photo editing tools on the Touch Bar.
For more tech advice, check out our many other posts.