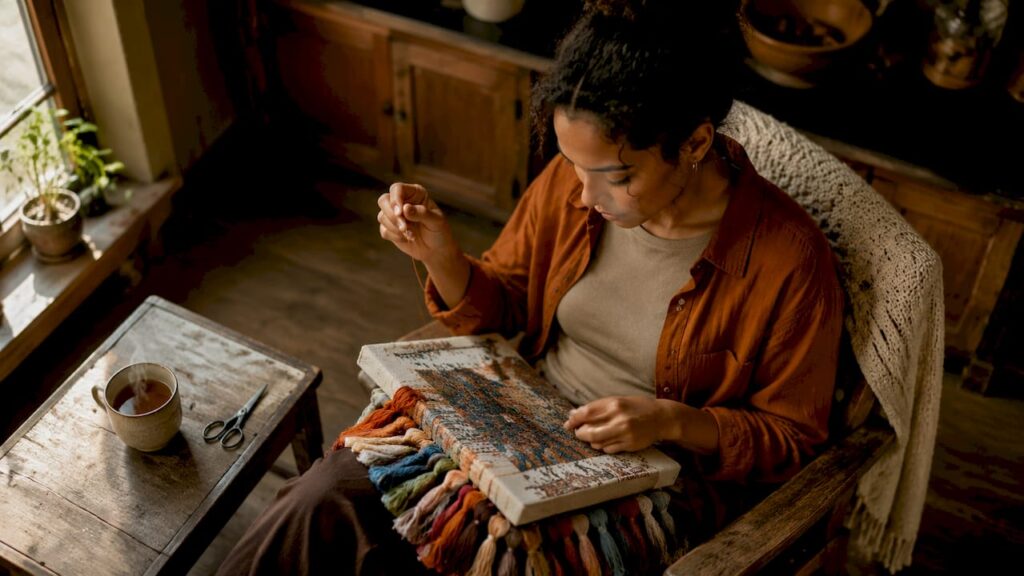
Needlepoint is defined as decorative embroidery worked over a painted mesh canvas using a variety of stitches, not just one repeated pattern. Unlike cross-stitch, which relies on a single X-shaped stitch on plain fabric, needlepoint uses multiple stitch types over a pre-painted design. That distinction makes it richer, more textural, and honestly more satisfying to finish. Right now, the craft is having a real moment. Millennial and Gen Z crafters are picking it up in droves, drawn by its meditative rhythm and the fact that modern designs look nothing like your grandmother’s footstool.
What is needlepoint and what makes it different?
Needlepoint is embroidery on a stiff, open-weave mesh canvas. The canvas comes pre-painted with a design, so you follow the colors like a paint-by-number. That structure makes it approachable for beginners who feel intimidated by freehand embroidery.
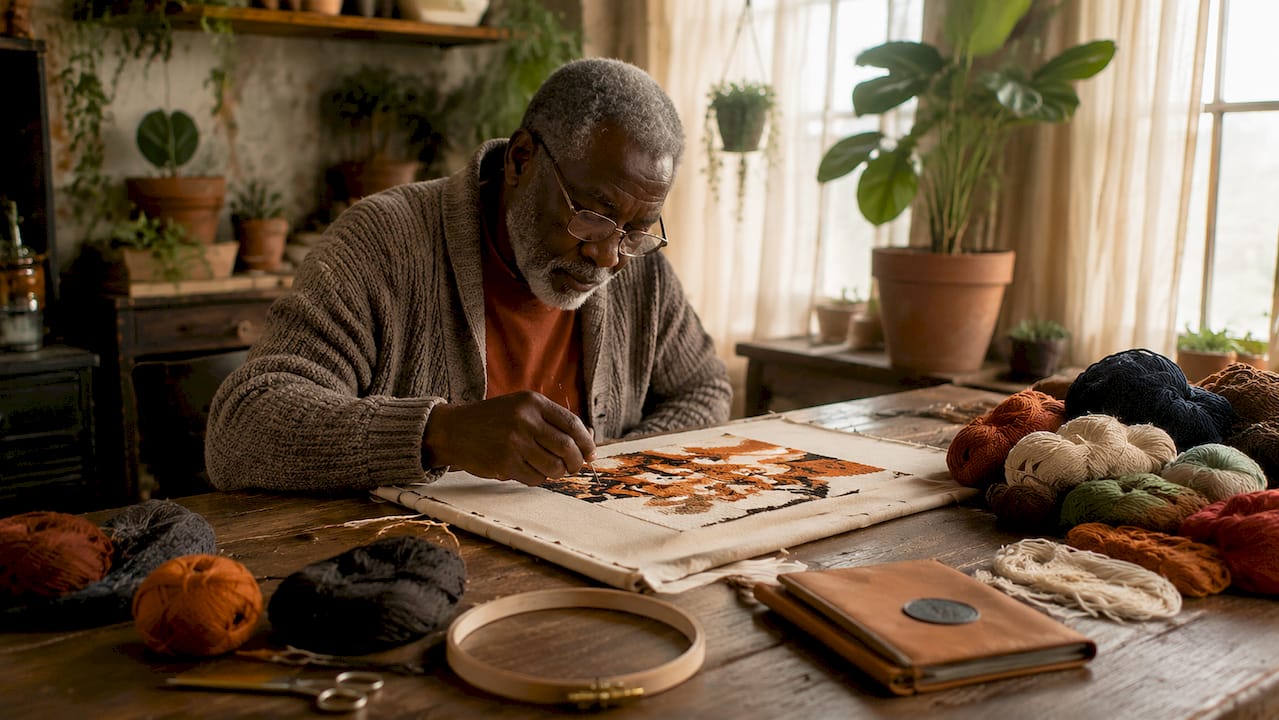
The craft is considered a meditative slow craft by longtime stitchers, offering stress relief and a sense of flow similar to adult coloring. The rhythmic, repetitive motion of pulling thread through canvas quiets the mind in a way that few hobbies can match. That mental health benefit is one reason the craft keeps finding new audiences.
Social media has accelerated its comeback. Modern needlepoint designs now feature bold graphics, pop culture references, and abstract patterns that appeal to younger crafters. The community around the craft is open and welcoming, with no gatekeeping and plenty of encouragement for newcomers.
What needlepoint supplies do you need to get started?
The right supplies make the difference between a frustrating first project and one you actually finish. Here is what you need before you stitch a single thread.
Canvas
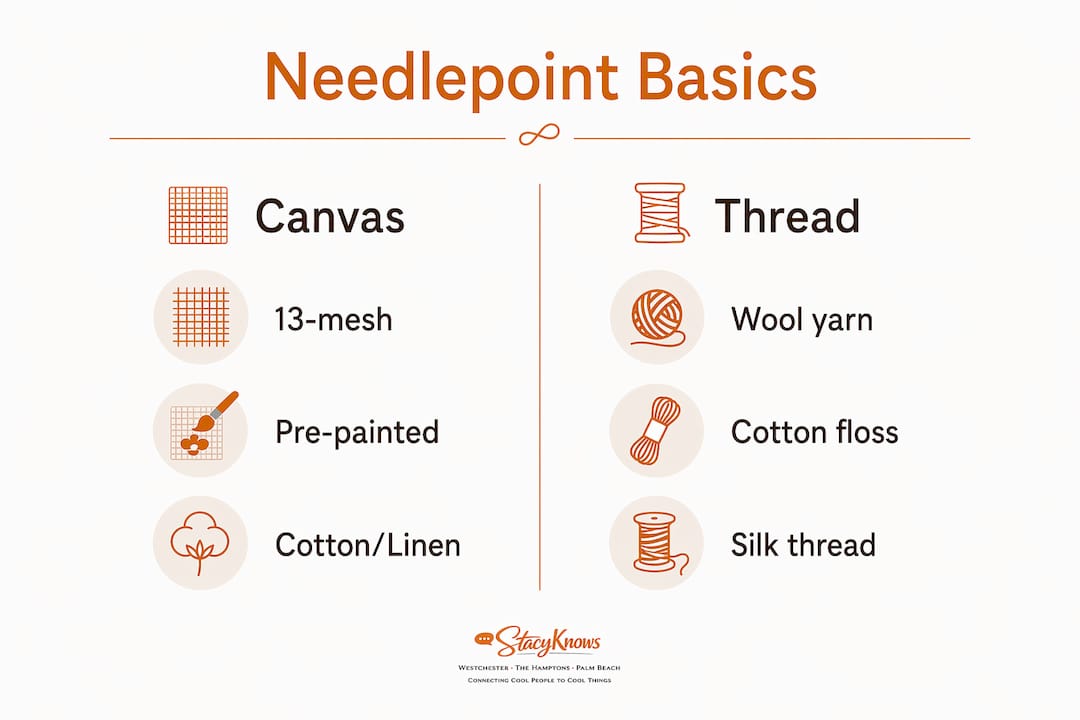
The canvas is the foundation of every project. It is a stiff, open-weave mesh made from cotton, linen, or synthetic fiber. Mesh size refers to the number of holes per inch. A 13-mesh canvas is recommended for beginners because the larger holes make stitches easier to see and thread easier to handle. Finer mesh, like 18-count or 22-count, is used for detailed work and requires thinner thread.
Thread
Thread type must match your canvas mesh size. Wool yarn works well on 13-mesh canvases because it fills the holes fully and creates a plush, even surface. Persian wool, which comes in three separable strands, gives you flexibility to adjust thickness. Cotton floss and silk thread are better suited to finer mesh counts where you need a smoother finish.
Tools
You need three basic tools to start:
- Tapestry needle: A blunt-tipped needle that slides through the canvas mesh without splitting the fibers. Blunt tips are preferred to protect the canvas. Most starter kits include one, but replacements are inexpensive.
- Scissors: Small, sharp embroidery scissors for cutting thread cleanly.
- Stretcher bars or a frame: Optional but highly recommended. These keep the canvas taut during stitching and prevent distortion.
Beginner kits vs. advanced projects
| Component | Beginner kit | Advanced project |
|---|---|---|
| Canvas | Pre-painted, 13-mesh | Hand-painted, 18–22 mesh |
| Thread | Wool or cotton, pre-selected | Mixed fibers, custom matched |
| Needle | Included tapestry needle | Specialty sizes |
| Frame | Optional | Strongly recommended |
| Typical cost | $30–$80 | $50–$150+ (canvas only) |
Beginner kits typically cost $30–$80, while advanced hand-painted canvases alone can run $50–$150 before thread and finishing costs. Starting with a kit keeps the investment low while you learn.
Pro Tip: Ask your local needlepoint shop about “kitting.” Kitting means the shop assembles the exact canvas and matching threads for your project, so you never have to guess about thread color or quantity. It is one of the best services a specialty shop offers.
What are the foundational needlepoint stitches to learn first?
Every needlepoint project is built on tent stitches. These are small, diagonal stitches that cover one intersection of canvas mesh at a time. The three foundational tent stitches are the half-cross, the continental, and the basketweave.
The half-cross stitch is the simplest. It uses the least thread and works well for flat, decorative pieces. The downside is that it does not pad the back of the canvas, so finished pieces feel thinner.
The continental stitch covers more of the canvas back and creates a more durable result. It does tend to pull the canvas diagonally, which is why a frame helps so much when using this stitch.
The basketweave stitch is the gold standard for filling large background areas. It alternates the direction of stitches in a woven pattern on the back of the canvas, which distributes tension evenly and prevents distortion. Most experienced stitchers default to basketweave for any area larger than a few square inches.
How to execute a basic tent stitch
- Cut your thread to no longer than 18 inches. Longer thread tangles and frays.
- Thread the tapestry needle, leaving a short tail on the back of the canvas.
- Bring the needle up through the canvas from back to front at your starting hole.
- Push the needle down diagonally one hole up and one hole to the right.
- Bring the needle back up through the next hole to the left, keeping tension consistent.
- Continue across the row, then turn the canvas and work the next row in the same direction.
- Secure the tail by weaving it under completed stitches on the back before cutting.
Once you are comfortable with tent stitches, decorative stitches like the Scotch stitch, the brick stitch, and the Rhodes stitch add texture and visual interest to backgrounds and borders. These are worth exploring after you have a few projects under your belt.
Pro Tip: Uneven tension is the most common beginner mistake. Pull each stitch firmly enough to sit flat on the canvas, but not so tight that the mesh distorts. If your canvas starts to warp, you are pulling too hard.
How do you start and complete a needlepoint project?
Starting a project feels less daunting when you break it into clear steps. Here is the full workflow from setup to finished piece.
- Mount the canvas. Using stretcher bars or a frame keeps the canvas taut and prevents the warping that makes finishing difficult. Attach the canvas to the bars with tacks or staples, pulling it evenly on all sides.
- Organize your thread. Sort threads by color and label them. Loop each color over a thread card or a piece of cardboard so you can find the right shade quickly.
- Start in the center. Beginning in the middle of the design and working outward helps you maintain even coverage and avoid running out of space at the edges.
- Follow the painted design. The painted canvas acts as your guide. Stitch each color section before moving to the next, just like filling in a coloring book.
- Blend colors at edges. Where two colors meet, alternate stitches from each color over one or two rows to create a soft transition instead of a hard line.
- Fill the background last. Background areas are large and repetitive. Saving them for last keeps your motivation high during the more interesting foreground work.
- Block the finished canvas. Blocking means wetting the stitched canvas and pinning it square on a board to dry. This corrects any distortion and gives the piece a professional, flat finish.
- Send it for finishing. A professional finisher can turn your stitched canvas into a pillow, ornament, framed piece, or tote bag. Many local needlepoint shops offer finishing services or can recommend one.
Pro Tip: Keep your thread lengths short. Threads longer than 18 inches wear thin as they pass through the canvas repeatedly, which creates thin spots and uneven texture in the finished piece.
Here are a few common pitfalls to watch for mid-project:
- Skipping holes accidentally, which leaves bare canvas showing through the design
- Letting thread twist as you stitch, which creates a bumpy, uneven surface
- Pulling the needle at an angle instead of straight through, which distorts the mesh
If you notice a mistake a few rows back, do not panic. Use a seam ripper or small scissors to carefully remove the stitches one at a time. Work slowly to avoid cutting the canvas threads.
How do you fix common needlepoint mistakes?
Every stitcher makes mistakes. The key is catching them early and fixing them without damaging the canvas.
- Uneven tension: If stitches look loose in some areas and tight in others, you are changing your grip mid-project. Practice keeping your non-dominant hand under the canvas to control thread pull consistently.
- Thread tangling: Drop the needle and let it hang freely every few stitches. The thread will unwind on its own. For ribbon thread specifically, untwist the ribbon after every stitch to keep it lying flat and smooth.
- Skipped holes: Hold the canvas up to a light source to spot bare mesh. Re-thread your needle with a short length of the correct color and fill in the missed holes.
- Canvas distortion: Block the finished piece as described above. Severe distortion can also be reduced mid-project by re-mounting the canvas on stretcher bars.
- Thread running out mid-row: Always start a new thread at the beginning of a row when possible. Joining thread mid-row creates a visible bump in the finished surface.
Caring for finished pieces matters too. Store unfinished canvases rolled loosely in acid-free tissue paper, away from direct sunlight. Finished pieces should be kept out of humid environments to prevent the canvas from softening and losing its shape.
Pro Tip: Join a local needlepoint group or an online stitching community. Community support in local shops and online groups helps beginners troubleshoot problems faster than any tutorial can. You will also find people who genuinely love sharing what they know.
Why I think needlepoint is worth every stitch
I will be honest: I came to needlepoint skeptically. It looked fussy and old-fashioned, and I was not sure I had the patience for it. What I did not expect was how quickly the rhythm of it settled something in me.
There is something about the repetition of pulling thread through canvas that quiets the noise in your head. It is not mindless, but it is not demanding either. You are present without being stressed. Longtime stitchers describe it as calming and meditative, and after a few sessions, I understood exactly what they meant.
What surprised me most was the community. Needlepoint shops feel nothing like the intimidating craft stores you might expect. People share tips freely, celebrate each other’s finished pieces, and genuinely want you to succeed. If you are curious about turning your stitching into something more, Stacyknows has a guide on starting a craft-based business that is worth reading once you catch the bug.
My advice: do not wait until you feel “ready.” Pick a small kit, a simple design, and just start. The learning happens in the doing, not in the planning.
— Stacy
Ready to pick up your first needlepoint kit?
Stacyknows has rounded up some of the best beginner-friendly options to help you get started without the guesswork of shopping alone.
Whether you are drawn to bold modern patterns or classic floral designs, the right kit makes all the difference. Stacyknows covers starter kit reviews including the Jonathan Adler x Michaels collection, which is a great entry point for anyone who wants stylish designs without a steep learning curve. For curated hobby finds and supplies that Stacyknows personally recommends, check out the Stacyknows Beauty Secret Finds page, where lifestyle picks including craft favorites are updated regularly. Your first finished piece is closer than you think.
FAQ
What is needlepoint?
Needlepoint is a form of embroidery worked over a painted mesh canvas using a variety of stitches, most commonly tent stitches like the basketweave and continental. The painted canvas guides the design, making it accessible for beginners.
What canvas size is best for beginners?
A 13-mesh canvas is the best starting point for beginners because its larger holes make stitches easier to see and thread easier to manage. Finer mesh counts like 18 or 22 are better suited to experienced stitchers working on detailed designs.
How long does a needlepoint project take?
Project time depends on canvas size, mesh count, and how often you stitch. A small ornament on 13-mesh canvas can take a few hours, while a large pillow canvas may take several weeks of regular stitching.
What is the difference between needlepoint and cross-stitch?
Cross-stitch uses only X-shaped stitches on plain fabric, while needlepoint uses multiple stitch types over a pre-painted canvas. Needlepoint generally produces a thicker, more textural result than cross-stitch.
Can you fix mistakes in needlepoint?
Yes. Use a seam ripper or small scissors to carefully remove incorrect stitches one at a time, working slowly to avoid cutting the canvas mesh. Re-stitch the corrected area with a short length of fresh thread.
Recommended
- I’ve Got an Itch to Stitch: The Jonathan Adler x Michaels Needlepoint Kits I Cannot Wait to Try – Stacyknows
- How to Start a Small Business from Your Sewing Hobby – Stacyknows
- How to Dive Into a New Hobby with Confidence – Stacyknows
- The Science of Spongilla: A Needle-Free Approach to At-Home Microneedling – Stacyknows
