Taking pictures or filming videos may be easy and simple to learn, yet manipulating light to work in your favor might not be as simple. Lighting is the whole ball of wax, in fact, the word “photography” comes from Greek roots meaning “writing or drawing with light”. You may think this only requires you to cast a white bulb in the direction of the material you are photographing. In reality, it takes more than finding a bright light source for your images, and angling this light is definitely more complex than what a beginner might think. If you are a beginner, these techniques will surely help you master lighting basics and fundamentals that every photographer knows.
How to Position Photography Lighting
To learn about this you have to know that there are three ways in which you can position your light or the subject you are photographing. You can place the light either in front of, beside, or behind the subject, noting that you can also move the subject instead of the light source. If you place the light in front of the person or the object you are photographing you will get full detailed results. This means that no shadows will appear in your photos or videos, giving you a very clear image. This technique is the easiest for beginners, even though it’s rather boring and results in flat images.
You can also place the light source to the side of the subject at any angle, and get more dramatic results with some shadows showing, and more control over the mood you want for your pictures or videos. This is a little more elaborate than the front lighting technique, but will surely bring more depth to your images if you master how to adjust the shadows the right way.
The final way to position your lighting and also the most complex is the backlighting. To end up with the best results you will need to manually set up your camera settings to brighten your subject. This is because shooting a subject with the light behind it makes it look dark or shadowed, so some adjustments to the exposure of the image will be needed but the results are worth the challenge.
How to Choose the Type of Lighting
There are two types of lighting used in photography, there is soft and hard light. With hard light being harder to use, they both have different ways of showing details in a picture. The thing about hard light is it falls directionally on the subject exposing all the details, even unwanted ones. It gives less contrast between dark and light areas in the picture. More contrast to the subject itself and the surrounding scene thought that’s why it’s more dramatic.
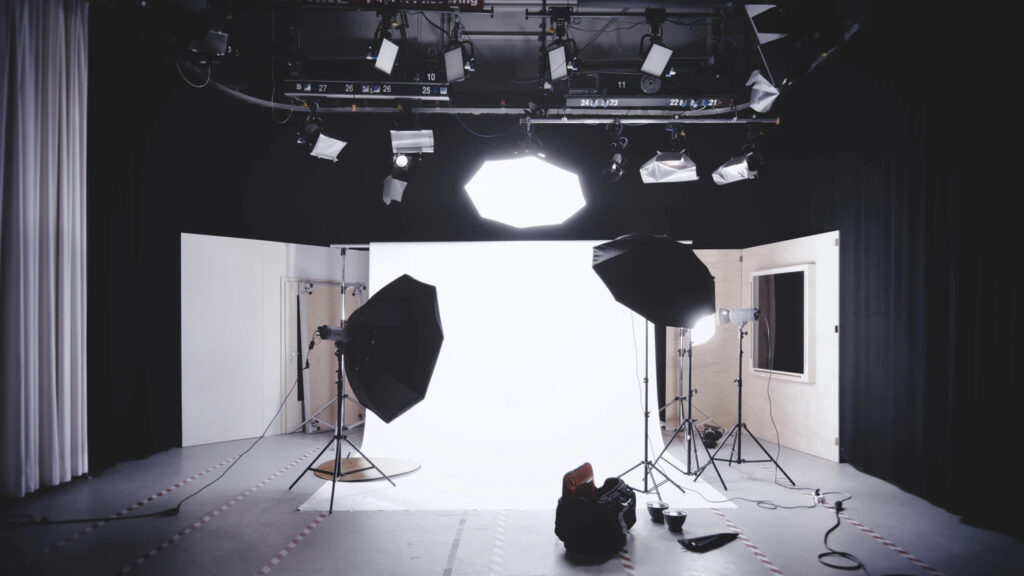
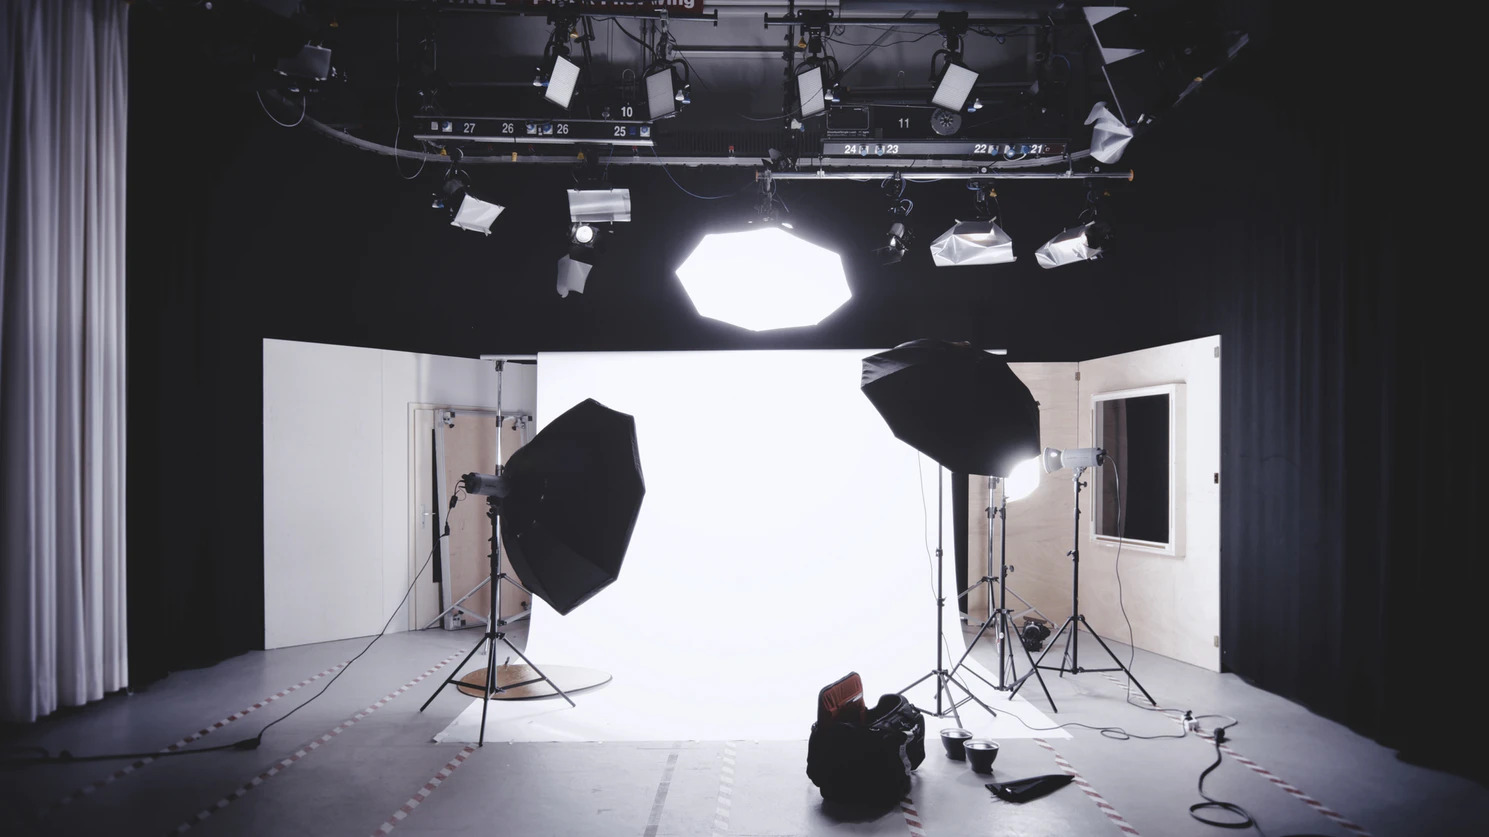
Hard light is used more commonly by experts in photography who know the secrets of hiding unwanted details and adjusting the needed shadows to create the best results. To spread a hard light from a source or make it softer, you can use a diffuser or a beauty box like some celebrity/model photographers generally do. Lighting kits can also include diffuser boxes, umbrella boxes, or LED lights for shooting videos, a blog post from Photography-Lighting.com mentioned some of the best video lighting kits for the most affordable budgets. Diffuser boxes are also used to spread out soft light when needed in order to darken some details.
Soft light is used to show fewer shadows in an image. It is recommended if you are a beginner, just like front light, because the light coming from the source spreads out onto the subject to smoothen the transition between dark and light areas. This type is more desirable in photos and is perfect for shooting wedding pictures and pictures for other similar classic ceremonies.
Tips
Other lighting properties to consider include choosing the temperature of the light, (which is set automatically most of the time through camera settings), and choosing between natural light and flashlight. Using a flashlight is the expensive option, however, it is easier to use and control, while natural light serves more availability and doesn’t require any setup. Here are a few tips and techniques using the above properties, that will help beginners to start on the right track:
- Use natural light, in the beginning, to learn to adjust to a light source that can’t be positioned
- Use tools from a photography toolkit like light diffusers and reflectors while shooting in natural light
- Shoot in RAW files instead of JPEG to adjust the white balance easily on your camera
The more you play around with the lighting and exposures, the more you will get to understand what works best for your photography, you just need to start with the basics and gradually add more techniques. Start with light positioning. Try adding more than one strobe and keep discovering what works best and whether it’s a natural source or a source that you crafted. Over time, you will gain more skills that you can put to work and add a few tweaks to your portfolio.