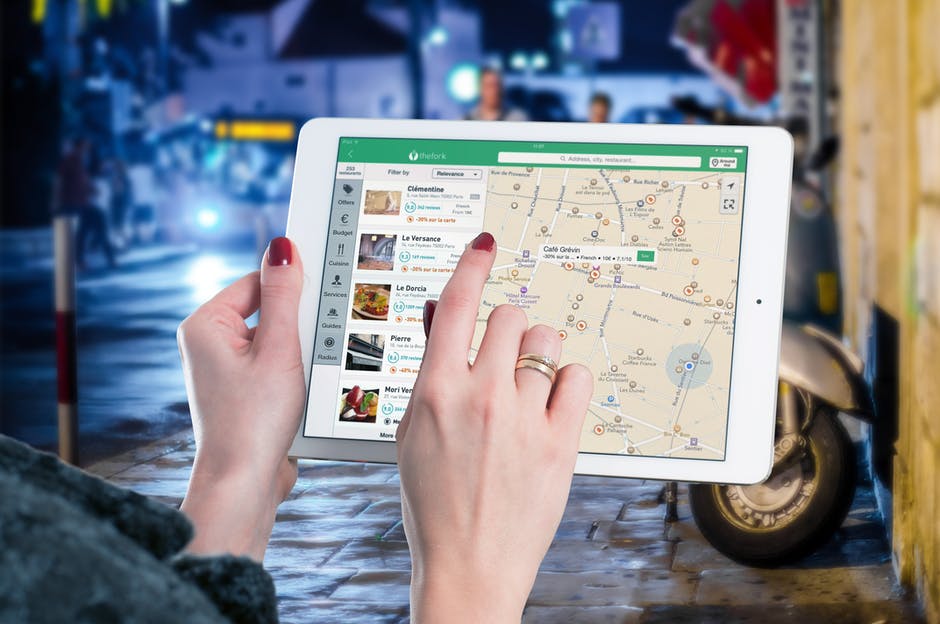
Maps app is an essential application that helps us to easily find directions of various places. Here are some tricks of using apple maps for mac.

Apple Maps gets more popular with each passing year. It was already being used 3 times as often as Google Maps on iOS as far back as 2015. Apple Maps was already receiving over 5 billion requests a week, and that was several years ago.
There are all kinds of reasons some prefer Apple Maps over other digital mapping applications like Google Maps. Apple Maps is more detailed, for one thing. It’s also got a nice, clean interface that makes it easier to use and navigate than some of the other alternatives out there.
But what if you want to use Apple Maps on a computer instead of a mobile device? We’ve compiled some tips on how to use Apple Maps for Mac to help you get started.
How to Lookup an Address When Using Apple Maps for Mac
First, you’ll want to start by opening Apple Maps for Mac app from the Dock or Finder. Once the Apple Maps app is up and running, click on the search bar at the top of the page.
Once you’re on the search bar, you can search for a location with its street address. You can also lookup businesses by name. You can even lookup general locations, like a town or city.
Once you’ve looked up the address you’re trying to locate, it will appear in the map as a red pin.
How to Reset Your Current Location on Apple Maps
Your current location often gets set as your home address. That’s fine a lot of the time, but it can make things unnecessarily complicated if you’re away from home or trying to get directions on the run.
To reset your current location, start by clicking the arrow next to the location search bar. This automatically re-centers Apple Maps to your current location. This will be indicated by a blue dot on the map.
How to Lookup a Contact’s Address on Apple Maps
Looking up an address from one of your contacts is similar to looking up any other address. You’re just able to search for one of your contacts by name as you would a public address. The name should appear in the suggestion list beneath ‘Contacts.’
This alone is a reason to use Apple Maps if you’re not already. Public map apps like Google Maps don’t preserve your personal info. If they do, you might have to stay signed into Google, which could be a problem if you’re on a shared computer or device.
Apple Maps lets you stay more self-contained and secure with your personal data. You won’t be reliant on 3rd party providers, meaning you could delete Gmail account if you want.
How to Switch to Aerial or Transit View
Apple Maps allows you to see public transit routes almost anywhere on Earth. The transit view lets you see how to get where you’re going via public transportation. The aerial or satellite view lets you see that area in as much detail as possible.
To access the transit view, start off by looking up a location in the search bar. Once Apple Maps finds your search result, find the ‘Transit’ option in the top-right corner. This will bring up the bus, train, and other public transportation options.
You can also select the ‘Satellite’ option in the top-right corner. This will convert the map to the Satellite View, so you can see the area where you’re going in as much real-world detail as possible.
How to Get Directions on Apple Maps
Getting directions with Apple Maps is simple. As before, start off by searching for the location you’re trying to get directions to. Put the name or address into the search bar and hit enter.
Once Apple Maps finds the location of where you’re going, select the ‘Directions’ option from the top-left corner. This will bring up a window where you’ll be able to further customize your search.
You’ll be able to edit the Starting and Ending locations, for one. You’ll also be able to select between Driving, Walking, or Transit directions, depending on how you’re getting to where you’re going.
Once you select the type of directions you want, Apple Maps returns step-by-step directions to your destination.
How to See Traffic on Apple Maps
Apple Maps can even give you real-time updates on traffic conditions. This will help give you a more detailed idea of when you might arrive at your destination.
Once you’re in the Apple Maps app, select the ‘Map’ tab in the upper-right corner of the window. Then select the ‘Show’ option from the bottom-left corner. Then select the ‘Show Traffic’ icon.
If there are any traffic issues or complications, they’ll show up as a traffic icon on the map. You can click on the icon to see what the complications are.
As you can see, Apple Maps has a lot of things you can do with it. It’s got even more options and functionality when you integrate with a mobile device. You can map out routes and set destinations on your Mac computer and then use your mobile device to access them wherever they may be a mobile network.
Looking for More Mapping Inspiration?
At GeoAwesomeness, we are passionate about the intersection of geography and technology. Now that you know more about how to use Apple Maps for Mac, browse the rest of our site to find out how map-based technology is changing and evolving!
Happy mapping!

