

The fastest lipstick bleeding fix is a cotton swab dipped in micellar water to clean the feathered edge, then redefining the line with liner and sealing it with a whisper of translucent powder. To keep it from happening again, the combination that actually works is a waxy lip liner as a barrier, the blot-and-layer method for color, and a light powder or primer set. Master those three moves and feathering stops being a daily fight.
Lipstick Bleeding Fix: The Immediate Repair Steps
Feathering already happened. The mirror shows a faint pink halo creeping into your smile lines, and you have five minutes before you’re supposed to be somewhere. Here’s the sequence makeup artists actually use to salvage it, rather than wiping everything off and starting over.
1. Clean the feathered edge without disturbing the rest. Dip a cotton swab into micellar water or an oil-free makeup remover and gently trace the migrated color. Makeup pros recommend this exact move because it lifts the stray pigment while leaving the main color intact, saving you a full redo of your lipstick from bleeding, and 6 other pro lip tips. Work in small dabs, not swipes. A swipe smears; a dab lifts.
2. Redefine the lip line with liner. Use short, feathery strokes rather than one continuous line. If the original border is uneven or the color migrated into fine lines, you can place the liner a fraction of a millimeter outside your natural vermilion border to reset a cleaner edge. Feathery, layered strokes blend more naturally than a single hard line, and they’re more forgiving if your hand isn’t perfectly steady.
3. Seal the fix. This is the step most people skip, and it’s why the “fix” doesn’t last past lunch. Fold a single-ply tissue over your lips and dust translucent powder through it, or use a tiny concealer brush to set the corrected edge. Powder pressed through tissue absorbs surface oils without flattening your color or turning it chalky, which is why it’s still a go-to trick for stopping feathering instantly even among people who swore off powder years ago.
Your emergency kit should include:
- Cotton swabs
- Micellar water or an oil-free remover
- A small angled brush
- Concealer in your shade
- Translucent setting powder
- Your regular lip liner
Keep a mini version of this kit in your bag. A live bleed fix takes ninety seconds once you’ve done it twice, and you won’t need to disappear into a bathroom to rebuild your entire lip from scratch.
Prevent Lipstick Feathering Before It Starts
Fixing a bleed is triage. Preventing one is a routine, and it starts long before you touch your lipstick.
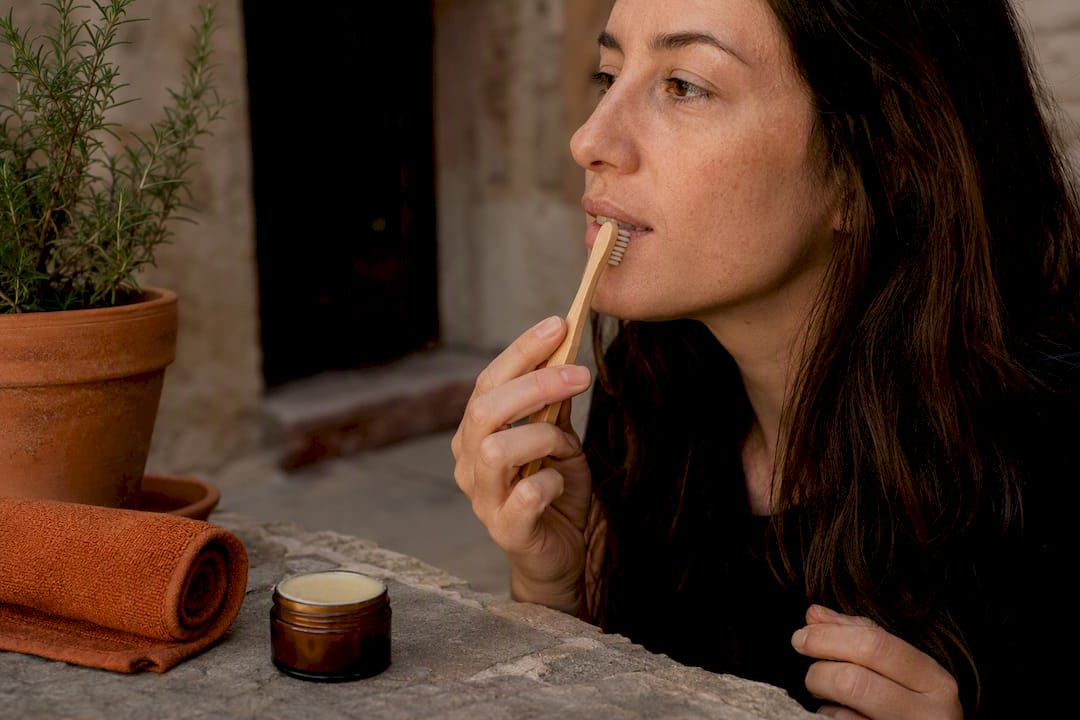
Exfoliate the night before, not five minutes before. A soft toothbrush with a little balm, used in gentle circles, smooths flaky texture that would otherwise trap pigment unevenly. Do this once or twice a week, not daily. Over-exfoliating strips the thin skin on your lips, leaving it raw and more prone to cracking, which ironically makes bleeding worse because pigment settles into micro-tears instead of a smooth surface.
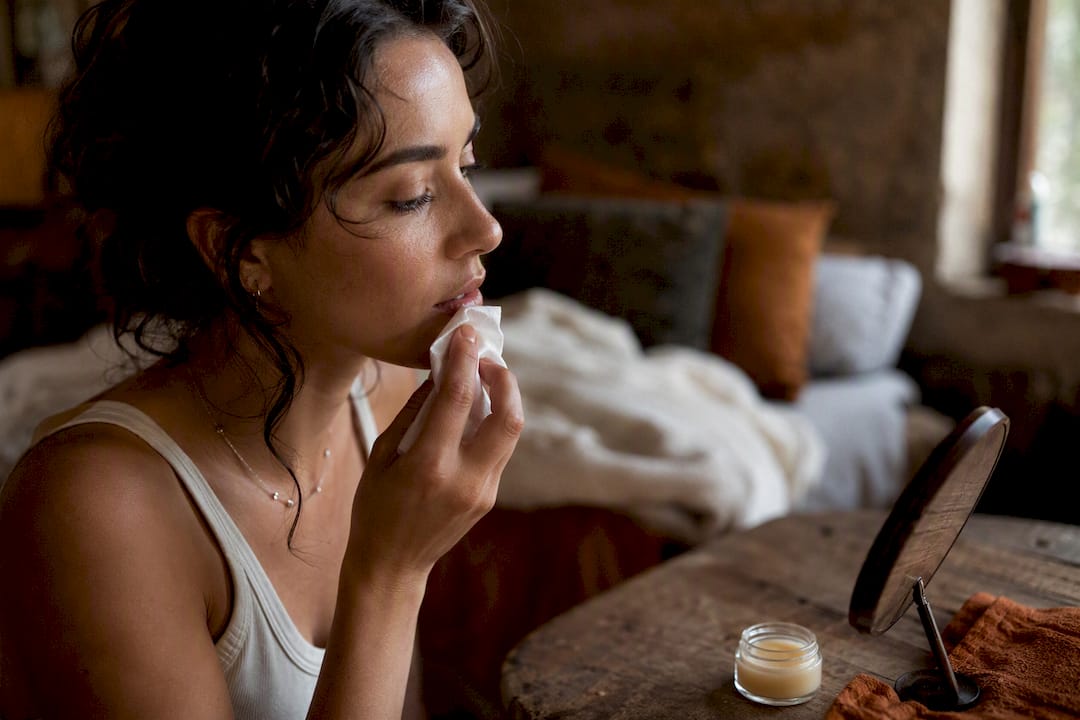
Hydrate, then wait, then blot. Apply a light balm and give it five to ten minutes to absorb. Thick, greasy balms applied right before color create a slick film that lipstick can’t grip, and that slip is one of the most common reasons a “fresh” application starts migrating within the hour. Blot the excess with a tissue before you go anywhere near your lip liner. You want lips that feel hydrated but not glossy.
Prime the perimeter. A thin layer of lip primer, or even a dab of your regular concealer, applied just around the outer edge of your lips creates a dry barrier that resists oil migration. If you have naturally oily skin or you’re wearing lipstick through a long event, this step matters more than any liner or setting spray.
Line and fill, don’t just outline. A clear or nude-toned pencil works for almost any lipstick shade, and the goal isn’t a thin outline. Fill the entire lip with liner before you add color. The wax in the pencil acts as an anchor that lipstick clings to, which is a major reason liner extends wear time far beyond what lipstick alone can manage.
Layer thin, blot, then layer again. Apply a thin first coat, blot with tissue, then apply a second thin coat. This blot-and-layer approach builds a stain-like base and removes surface oil that would otherwise cause the color to travel, and it’s the single most repeated tip among makeup artists for wear time. One thick coat looks fuller for the first ten minutes and then fails faster than two thin ones.
Pro Tip: Line your lips before you apply foundation around your mouth, not after. It lets you blend the primer or concealer right up to the liner’s edge instead of smudging your careful linework trying to clean up base makeup later.
Which Lipstick Formulas Actually Resist Feathering?
Not every lipstick is fighting you equally. Formula matters as much as technique, and picking the wrong finish undoes even a perfect prep routine.
Liquid mattes and long-wear stains generally hold their line better than high-shine glosses or very creamy bullets. The reason is straightforward: creamy, glossy formulas carry more oil, and oil is the vehicle that carries pigment into the fine lines around your mouth. Satin finishes split the difference, offering more comfort than a drying matte while still resisting migration better than a full gloss.
A few guidelines worth keeping in your back pocket:
- Lip liner: clear or nude tones work under any shade, so you don’t need a drawer full of matching pencils.
- Primer ingredients: look for silicones or waxes on the label. They form the physical barrier that keeps oil from carrying pigment outward.
- Balm timing: skip heavy, greasy balms right before color. Switch to a thin, fast-absorbing formula and blot before applying anything else.
- Mature or textured lips: a satin finish is often more forgiving than a drying matte, since fuller pigment with some slip fills fine lines rather than settling into them.
If you’re building out a kit and want a shortcut past the trial and error, curated finds for non-sticky gloss and long-wear lip products can save you a few failed purchases.
Pro Tricks for Cleanup and Midday Touch-Ups
A few moves separate people who reapply lipstick five times a day from people who touch up once and move on.
- The concealer perimeter trick: apply a thin ring of concealer just outside your lip line with a small brush and blend the edge softly. Done right, it hides any lingering stain without leaving a hard, obvious border.
- The tissue-and-powder set: fold a tissue in half, press it over your lips, and dust translucent powder through the fabric. It mattes down shine without disturbing the color underneath.
- The eraser brush: a tiny angled brush dipped in micellar water lets you trace and lift stray pencil marks with precision, which is the same tool makeup artists reach for on set.
- Stop blending liner into lipstick too early. Let the liner set for a few seconds before adding color, or you’ll drag pigment across the barrier you just built.
- The teeth-transfer fix: after applying color, put your index finger in your mouth and pull it out slowly. Any excess product transfers to your finger instead of your teeth.
Pro Tip: Carry a folded tissue and a travel liner instead of a full touch-up kit. Most midday fixes need thirty seconds and two tools, not a makeup bag.
Why Does Your Lipstick Keep Bleeding?
Oily skin produces more surface oil around the mouth, which carries pigment outward faster. Setting steps like powder-through-tissue matter more here than for dry skin types.
Dry or textured lips need exfoliation on a schedule, not treatment mid-application. If your lips are already cracked, skip the scrub and reach for a repair balm instead.
Product order matters more than most people realize. Balm, then wait, then primer, then liner, then color, in that sequence, prevents most of the slippage that causes early feathering.
Mature lips often have deeper vertical lines around the mouth, so lining slightly onto the surrounding skin rather than strictly on the vermilion border helps stop pigment from wicking into those creases.
Where This Advice Comes From
Stacyknows built this routine from the same techniques circulated by professional makeup artists and tested them against the everyday mistakes real people make in a rushed morning routine, not a studio with perfect lighting. The steps above line up with beauty guidance across Stacyknows’s beauty reviews and pull from the same pro-artist sources cited throughout this piece. If you’re prepping for a big event where touch-ups aren’t convenient, pre-event beauty timing tips can help you plan the exfoliation and hydration steps days in advance instead of the morning of.
My Go-To No-Bleed Lip Routine
My actual routine most mornings: exfoliate the night before, hydrate and blot five minutes before makeup, fill my lips with a clear liner, then apply color in two thin coats with a blot in between and a light powder set. I reach for a stain on long workdays and switch to a comfortable satin when I know I’ll be eating out, since stains hold longer but satin feels better through a meal.
— Stacy
Stacyknows’ Curated Beauty Finds
Getting the technique right is most of the battle, but the right products make it easier to stick with. Stacyknows keeps a running collection of beauty secret finds, including long-wear lip liners, oil-free primers, and lipstick formulas that hold up without constant touch-ups.

This isn’t a required step to stop your lipstick from bleeding. Everything in this guide works with products you probably already own. But if you’re tired of guessing which liner actually pulls double duty as a barrier, or which primer won’t feel greasy under color, the curated list saves you the trial-and-error most people go through before landing on a formula that holds. Browse the collection next time you’re restocking your makeup bag and see what fits your routine.
Sources
- How to Stop Your Lipstick From Bleeding, and 6 Other Pro Lip Tips — Byrdie
- How to Stop Lipstick from Feathering Instantly — LipstickQueen
Recommended
- The Lash Hack That Feels Like Magic (And the Lip Gloss That Finally Isn’t Sticky) – Stacyknows
- Solve All Skin Problems with These Natural Ingredients – Stacyknows
- ? Botox Is the New Blowout: Inside America’s Plastic Surgery Boom – Stacyknows
- Oral Health Mistakes You’re Probably Making Every Day – Stacyknows
