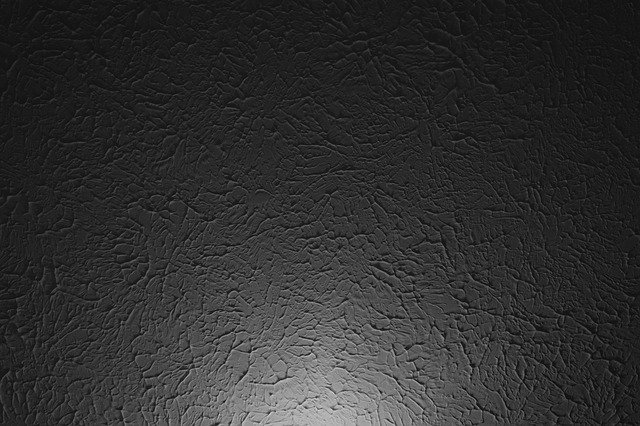
Whether you are remodeling your house or decorating your new one, ceilings are important on the to-do list. There are numerous textures you can paint your ceilings with, such as smooth, popcorn, and the trendiest one, the knockdown texture. Every knockdown or orange peel texture ceiling varies in texture degree, weight, and pattern. Regardless of which final shape you choose, drywall ceilings add to the aesthetics of the place. They also withstand the tests of time. So, it is a worthy investment in the long run. Since the trend is about DIY projects, knockdown ceiling textures can be applied at homes with some simple steps.
What is a Knockdown Ceiling?
Knockdown texture is a versatile style. However, it is a bit spotty and denser than a basic flat finish, but less intense than textures such as orange peel and popcorn ceilings, which can more or less look similar in style. Being knocked down means that the texture is dragged by a specialized knife to flatten the surface and form this shape. Knockdown textures produce a refined effect, with fewer shadows on the surface. The knockdown pattern can be made by any drywall knife. However, there are specified tools available to assist in getting the angle accurately.
Gather up the Tools
Knockdown texture ceilings help hide any flaws or repairs in ceilings. This is why many people like to incorporate it into their finishing. It also has a more subtle look than the orange peel and popcorn texture ceilings. Like doing any furbishing procedure, you should gear up and gather the tools you will need. You will need to choose a paint suitable for ceilings and other materials, such as primer and unaggregated texture powder. You will also need masking tape, rosin paper, and plastic drop cloths. As for the tools, a spray texture gun, a rubber knockdown knife, a pail, an extension pole, and rags will help you in the process.
Prepare the Area
After bringing the necessary tools, it is time to use them in the application process. The first thing to do before any coating job is to prepare the room. You should move all the furniture items out in addition to floor coverings and any wall hangings. This is necessary, as you would not want any permanent stains anywhere after you are done. You can cover the floor with rosin paper to easily get rid of it later. Additionally, you should mask the wall’s top edges with masking tape to preserve the shape and not get any paint spots.
Start Painting
Now, it is time to roll up your sleeve and start painting the base. You have two options here: either apply knockdown to a plain wall or paint over it first. The color contrast between the paint and the knockdown texture gives it a pleasing look and depth. Don’t forget to leave it to dry sufficiently after.

Mix the Ingredients
To produce the signature texture of a knockdown ceiling, you need to prepare and mix the ingredients. You will need water, a pail, and unaggregated texture powder to create the muddy texture you want. Keep adding water to get a sufficient amount to use. It is important to set the mixture aside for a couple of minutes in order not to clog the hopper you will be using. The consistency should resemble that of a cake batter, and then you will know you are ready to go.
Test First
It will be hectic to remove any undesirable muddy spots, so you should always test how it is first. This will help you determine its eligibility for use. You can use plastic to see how the shape will turn out while spraying it. See the coverage range using your spray gun until you find the right amount.
Spray the Ceiling
After making sure that the consistency is good, you can move on to your ceiling. You should hold the spray gun about seventeen inches away from the ceiling and keep working across the room. Take care not to spray an area too much. It is normal to miss spots, so whenever you find empty spaces, make sure to go over them. Knocking the areas will get them heavier eventually. This is why you should not worry about full coverage.
Knock it Down
Here comes the fun part! To get the famous texture you want, grab your knockdown knife, and start working. It is important to remember that you should give the sprayed mud about a quarter of an hour to settle in, but do not forget it and let it dry out either. Dry splatter is harder to knock down and your work will be done in vain. Focus on the shine; if it disappears, then this is your green light. You should work across the ceiling in overlapping courses by three inches and steer the knife in a straight line. You should complete each course in two passes around the edges of the ceiling.
The knockdown texture ceiling has gained popularity in interior design and many homeowners go for it. This refined look is produced by rolling, spraying, and toweling drywall paste. With the guide provided here, you can now apply this style to any room in your house yourself for a new and updated interior look.

