
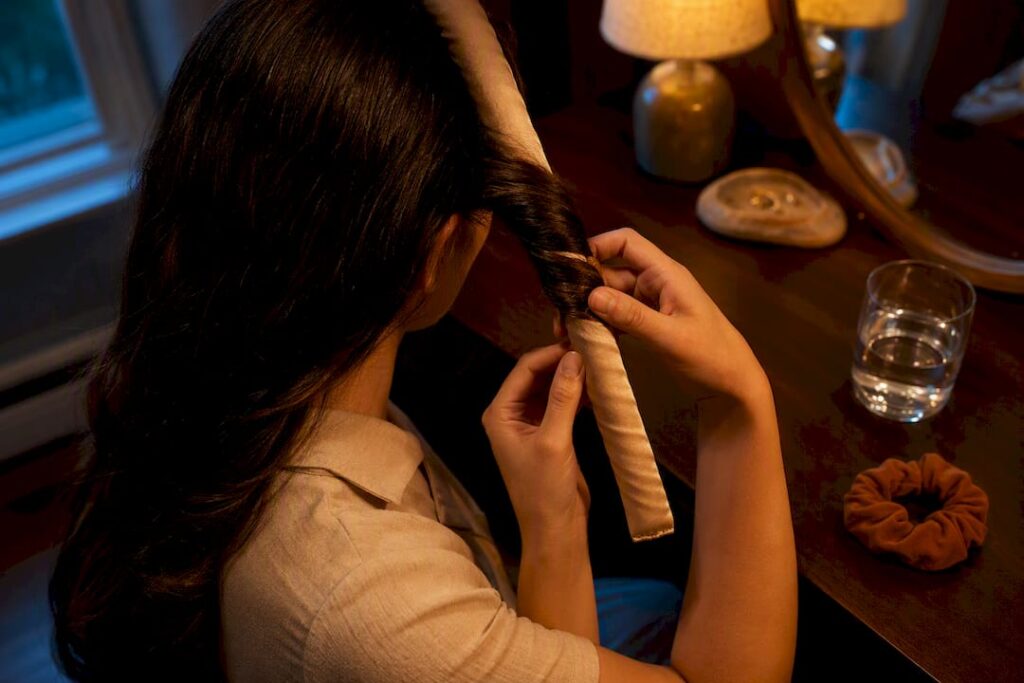
Yes, heatless curls work, and the fastest way to test that for yourself is an overnight wrap, either the sock method or a satin-covered rod. Both rely on the same principle: hair set while mostly dry and left under gentle tension for hours reshapes its internal bonds without a single degree of heat. Give it one night before you judge the results.
What Are Heatless Curls, and How Do They Actually Form?
Heatless curls happen when damp hair is wrapped around something (a sock, a rod, a strip of fabric) and left to dry slowly under tension. As water leaves the hair shaft, the hydrogen bonds inside each strand reform in the curved shape you wrapped it into. No heat tool, no chemical relaxer, just time and a shape to dry around.
That is the mechanism behind every method in this guide, from the viral sock trick to satin rod sets sold in beauty aisles everywhere. The variable that actually separates a good set from a frizzy, half-formed one is not the tool. It is timing, section size, and how dry your hair is when you start wrapping.
Which Heatless Curl Method Should You Try First?
Five methods dominate the current wave of heatless curling, and each produces a distinctly different curl shape:
- Sock or satin-rod overnight wrap: Soft, lived-in waves. Works best on shoulder-length or longer hair, costs almost nothing, and holds through a full workday.
- Flexi rods: Defined corkscrew curls. Better suited to chin-length hair and longer, and setup takes more patience than a sock wrap.
- Foam or individual satin rollers: Fuller curl coverage across the whole head. Comfort depends heavily on whether the rollers use clips or self-fastening ends.
- Braids or rope twists: The quickest route to beachy, S-shaped waves. Minimal setup time, minimal fuss.
- Bantu knots or pin curls: Tight, root-to-tip coils. This is the method for short or already-coily hair that other wraps slide right out of.
Section width is the real lever for curl tightness across nearly all of these. Two-inch sections give you a loose wave, one-inch sections give a defined curl, and half-inch sections produce a tight spiral, according to TrendyHairPicks.
How Do You Do the Overnight Wrap Step by Step?
The sock and satin-rod methods share almost identical mechanics, so once you learn one, you know both.
- Prep your hair. Wash or thoroughly detangle, then towel dry (or mist with water if starting dry) until hair reaches roughly 80% dryness. If your hair is fine, work in a light mousse or setting foam first.
- Section it. Divide hair into two to six sections depending on thickness and desired curl size. Smaller sections mean tighter curls.
- Wrap from the root. Start each section close to the scalp and wrap it around the sock or rod, moving away from your face, not toward it.
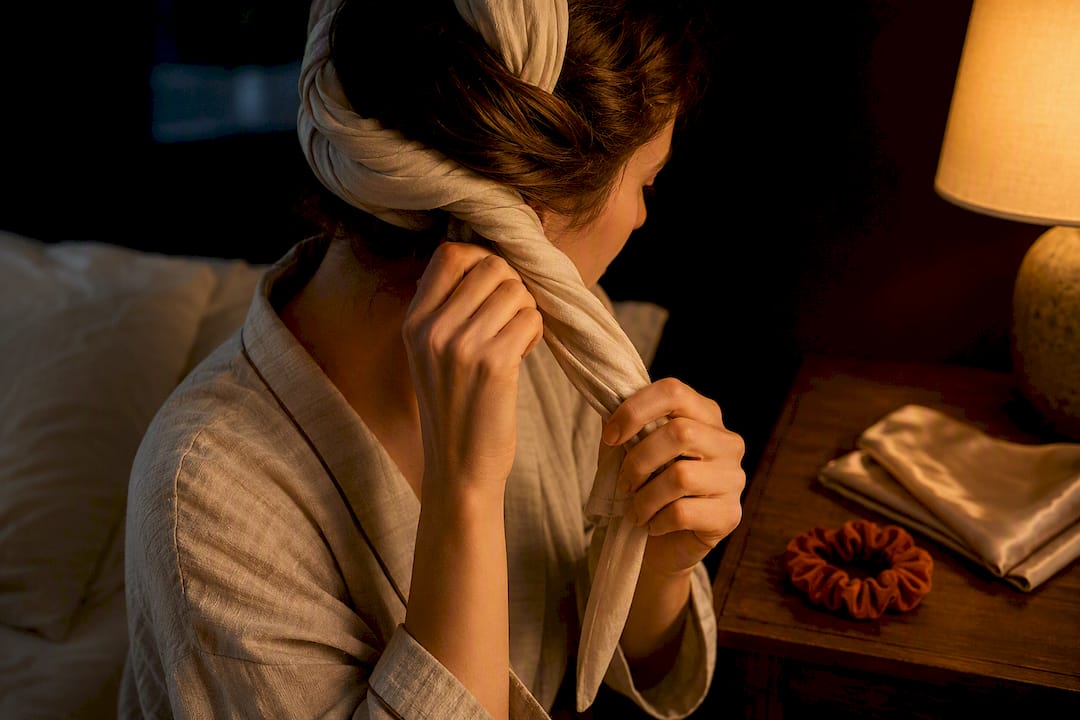
- Secure the ends. Tuck the tail into the sock loop or fasten with a silk scrunchie so nothing unravels overnight.
- Adjust for sleep comfort. Side sleepers should position wraps slightly off-center from where they usually rest their head, and loosen any wrap that feels tight against the scalp.
- Sleep on silk. A satin pillowcase or bonnet cuts down on the friction that causes frizz and flattened sections, a point Glamour’s styling guide makes repeatedly.
- Check for dryness before unwrapping. Hair needs a minimum of 6 to 8 hours, and a wrapped section should feel cool to the touch, not damp, before you take it down.
- Unwrap gently. Remove each wrap slowly and let the curl fall on its own.
- Separate, don’t brush. Use your fingers or a wide-tooth comb to loosen curls into shape.
- Finish and lock it in. Mist with a light, non-sticky hairspray and smooth a small amount of oil onto just the ends.
Pro Tip: If you’re a side sleeper, wrap sections a little looser than feels ideal when you first tie them off. A wrap that feels perfectly snug at 11 p.m. often turns into a pressure point by 3 a.m.
Fine hair typically sets in 4 to 6 hours, while thick or low-porosity hair can need 8 or more, based on guidance from TrendyHairPicks. Touch, not the clock, is still the most reliable test.
How Should You Adjust the Technique for Different Hair Types?
Not every head of hair behaves the same way under a wrap, and the four methods below solve for that.
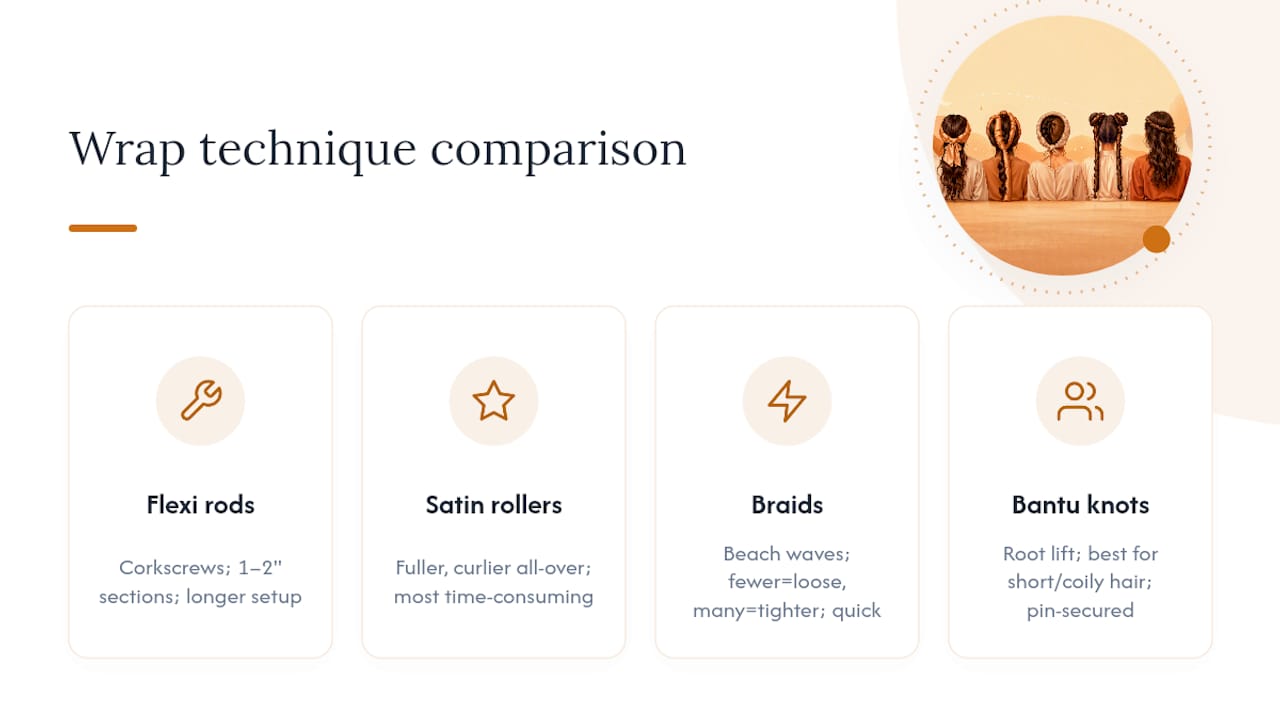
Flexi rods work best when you match rod diameter to the curl tightness you want, then bend the ends over to lock the section in place. Use one to two inch sections for corkscrews with real definition, and expect the setup to take longer than a sock wrap.
Foam or individual satin rollers deliver a fuller, curlier look across the entire head rather than a few soft waves. They take the most time of any method here, since you are securing rollers section by section, but the payoff is even curl distribution from root to tip.
Braids or rope twists are the shortcut for beach waves. Fewer, larger braids produce loose, relaxed waves, while several smaller braids create a tighter, crimped texture. This is the method to reach for when you are short on time.
Bantu knots or pin curls start at the scalp, which gives you root lift most wrap methods skip entirely. They are the strongest option for short or coily hair that tends to slip out of longer rods, and they hold best when secured with pins and slept on with a silk covering.
Why Do Heatless Curls Fall Flat, and How Do You Fix It?
Most heatless curl failures trace back to one of three causes, and each has a straightforward fix.
| Symptom | Likely cause | Fix |
|---|---|---|
| Stringy, uneven curls after unwrapping | Hair was too wet when wrapped | Rewrap the affected sections and give them extra drying time before bed |
| Curls drop within an hour or two | Hair was fully dry before wrapping, or no styling product was used | Spritz with setting foam and rewrap while slightly damp |
| Frizz along the curl | Cotton pillowcase friction, or brushing instead of finger-separating | Switch to a satin or silk pillowcase and separate curls with fingers |
| Flat roots with curled ends only | Wrap started too far down the section instead of at the scalp | Start each wrap closer to the root next time |
The dampness call is the one that trips up most people, since roughly 80% dry is a narrower window than it sounds, according to TrendyHairPicks’ testing. Once curls are unwrapped and shaped, a non-sticky hairspray applied immediately helps lock the set and adds volume that lasts through the day, a tip echoed by Marie Claire.
Which Heatless Curler Kits Are Actually Worth Buying?
Expert roundups consistently point to a handful of kits, and the differences between them come down to material, length, and how the rod sits against your head overnight, per NBC Select’s stylist-sourced list.
Kitsch Satin Heatless Curling Set pairs a long satin-covered foam rod with scrunchies, and its full length makes it adaptable across most hair types looking for soft waves rather than tight curls.
Silke London Heatless Curler Set goes all in on silk, both for the rod covering and for reducing the friction that causes frizz overnight, and its extra length suits longer hair specifically.
Halo Hair Labs Heatless Curling Kit takes a different shape entirely, a padded headband-style rod that sits flatter against the head, solving the exact problem side sleepers run into with long rods.
Aimin Soft Overnight Curlers use many small satin-covered sponge rollers instead of one long rod, which means more setup time but a fuller, curlier result across the whole head.
HRYYDS Heatless Hair Curler brings a velvet-cotton blend rod with scrunchies and clips included, a lower-cost entry point that still avoids the rough surfaces that snag hair.
Beyond curated kits, low-cost DIY options remain genuinely effective: Kitsch Jumbo Flexi Rods, standard Flexi Rods, Foam Rollers, The Original Sleepy Tie, RobeCurls Heatless Hair Curler Set, the Original Octocurl Heatless Curling System, and the Willbond Spiral No-Heat Wave Curlers Kit all show up regularly in expert testing. The Sock Curls (Sock Method) and plain Scrunchie Method cost nothing beyond items already in most closets, and they remain the best entry point if you have never tried a heatless set before. Material and length matter more than brand name when you shop, a point NBC Select’s testers make directly.
What Did Testing an Overnight Wrap Actually Look Like?
On nights it didn’t, curls came out stringy no matter which tool held them.
Stylists back that finding up directly.
“Patience with the drying process is the biggest factor in whether a heatless set actually holds,” according to guidance compiled by Glamour.
Quick wins worth stealing: start sets at roughly 80% dry, use smaller sections for a tighter curl, finish with a non-sticky hairspray the moment you unwrap, and sleep on silk to cut down on frizz.
Pro Tip: If a wrap feels too tight to sleep on comfortably, it’s also too tight for a good curl. Loosen it before bed rather than fighting it all night, since tension without comfort just means you’ll tear it out at 2 a.m.
Heatless Curls vs. Heat Styling: What Actually Changes?
A curling iron or wand can produce a tighter, more uniform curl in five minutes, which is the honest trade-off heatless methods make. What you gain by skipping heat is cumulative: no repeated exposure to 300+ degree tools that gradually dry out the cuticle and lead to breakage over months of regular styling.
Heatless curls also tend to look softer and more natural, closer to a second-day texture than a salon blowout, which is part of why the sock method took off among people who wanted “effortless” waves rather than pageant-tight ringlets. The trade-off is durability in extreme humidity. A heat-set curl with a strong-hold product can outlast a heatless wave in a humid climate, since heat temporarily changes the hair’s protein structure in a way that resists moisture slightly longer.
For everyday styling, heatless methods win on hair health and cost. For a single big event where humidity or exact uniformity matters more than long-term hair condition, a heat tool used once, well-protected with heat spray, still has a place. The two are not really competitors so much as different tools for different weeks.
Where Do Heatless Curls Fit Into a Long-Term Hair Care Routine?
Skipping heat most nights adds up. Every session without a hot tool is one less pass of thermal stress on the cuticle, and that compounds over months into visibly healthier ends. Heatless methods aren’t a replacement for every occasion, though. Save the hot tools for last-minute touch-ups or days when humidity will undo anything less aggressive, and even then, use them sparingly and always with a heat protectant.
— Stacy
Where to Go Once Your Curls Are Set
If you’ve been relying on a stylist or a blowout bar for curl day prep, a heatless set is the one styling upgrade you can run entirely on your own, for the cost of a rod or a spare sock. That is the real contrast: no appointment, no thermal damage tally, no recurring cost, just twenty minutes before bed and a result that holds up by morning.

A running, tested list of beauty tools and products curated on substance rather than hype is available. Our Beauty Secret Finds page rounds up the sets, sprays, and finishing products readers ask about most, so you’re not scrolling through fifty options to find the three that matter. If you’re building out a full heat-free routine, our guide on using the cool shot button and other stylist secrets pairs well with everything above. Start with curated picks before you buy your next curler kit.
Sources
- How to use heatless curlers at home — Glamour
- The heatless way to curl your hair — Marie Claire
- Heatless Curls Overnight: 5 Methods That Actually Work — TrendyHairPicks
- Best heatless curlers of 2026, according to hairstylists — NBC Select
Recommended
- Why You Should Always Use the Cool Shot Button on Your Hair Dryer (and 6 Other Stylist Secrets)
- Nobody Warned Me That Aging Would Change My Hair Too
