
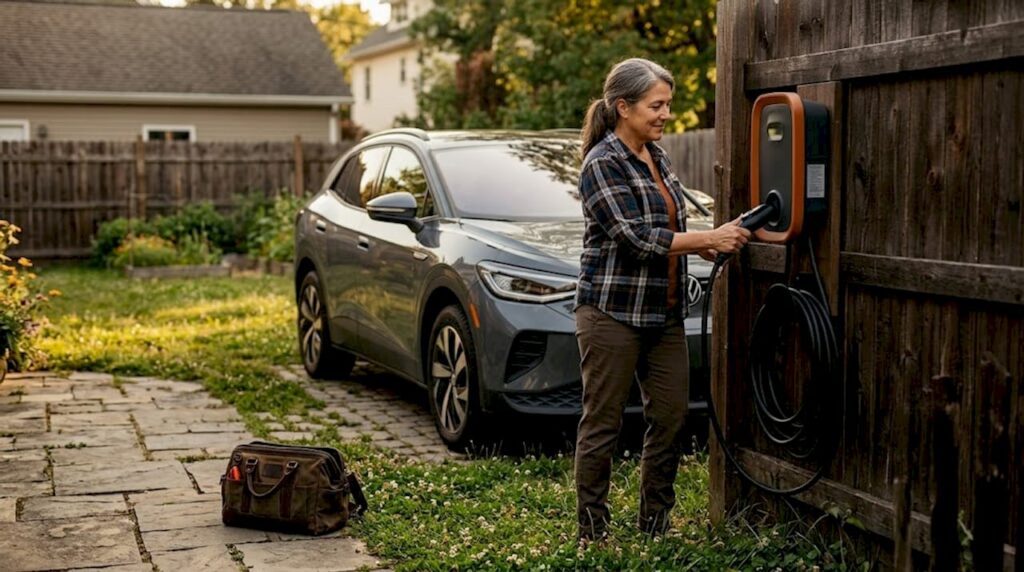
You finally made the switch to an electric vehicle, and now you’re staring at your garage wall wondering what comes next. To install a home EV charger feels complicated at first glance, but most homeowners complete the process in a single weekend once they understand what’s actually involved. This guide walks you through everything: electrical requirements, permit realities, step-by-step installation, honest cost expectations, and the mistakes that send people back to square one. No fluff, no scare tactics. Just what you need to know.
Table of Contents
- Key takeaways
- What you need before you install a home EV charger
- Step-by-step installation process
- Common challenges and mistakes to avoid
- Benefits and what to expect after installation
- My honest take on what most guides get wrong
- Ready to take the next step?
- FAQ
Key takeaways
| Point | Details |
|---|---|
| Electrical prep is everything | Check your panel capacity before buying a charger to avoid surprise upgrade costs. |
| Permits protect you | Pulling an electrical permit is not optional and helps you pass inspection without rework. |
| Hardwired beats plug-in long-term | Hardwired chargers support higher amperage and are more reliable for daily use. |
| Real costs vary widely | A professional Level 2 installation typically runs $1,200 to $3,000 before tax credits. |
| Federal credits reduce your bill | The Section 30C tax credit covers 30% of installation costs up to $1,000 through June 2026. |
What you need before you install a home EV charger
Before anyone touches a wire, you need to understand what your home can actually support. Most home EV charging stations run on a dedicated 240V circuit, the same voltage your dryer or electric range uses. The charger itself is called an EVSE (Electric Vehicle Supply Equipment), and the most common residential choice is a Level 2 unit.
Choosing between hardwired and plug-in
There are two main installation approaches. A plug-in EVSE connects to a NEMA 14-50 outlet, which is a 50-amp, 240V receptacle. It is easier to move or replace, but NEC rules cap continuous output at 80% of the breaker rating, meaning a 50A breaker delivers a maximum of 40A to the charger. That is enough for most drivers.
A hardwired EVSE connects directly to your panel with no outlet in between. It supports higher amperage, up to 48A or more, and is generally more reliable for long-term daily use. If you are shopping among the best home EV chargers 2026 has to offer, many of the top-rated units are designed specifically for hardwired setups.
Panel capacity and load calculations
This is where most homeowners get blindsided. Your electrical panel has a finite capacity, and adding a 40A or 50A circuit is a significant draw. NEC 625 requires that EVSE circuits be dedicated, meaning no other devices share that breaker, and sized at 125% of the charger’s maximum load.
Before you call a contractor, run a basic load calculation using NEC 220.82. Add up your existing large loads (HVAC, water heater, electric range) and see what headroom remains. If your panel is already near capacity, you may need a panel upgrade, which can add thousands to your project cost.
Pro Tip: Ask your electrician to show you the NEC 220.82 load calculation before accepting any quote. If they cannot produce one, that is a red flag.
Tools and materials you will need
Here is a quick overview of what a typical installation requires:
| Item | Purpose |
|---|---|
| 240V dedicated breaker (40A or 50A) | Powers the EVSE circuit safely |
| 6 AWG or 8 AWG copper wire | Carries current from panel to charger location |
| Conduit (EMT or PVC) | Protects wiring, required in most jurisdictions |
| NEMA 14-50 outlet (plug-in only) | Receptacle for cord-and-plug EVSE |
| GFCI protection | Required by NEC for receptacle-based installs |
| Electrical permit | Required before work begins in most states |
Permit fees typically run $50 to $250 depending on your municipality, and the inspection that follows is what protects you if anything goes wrong down the road.
Step-by-step installation process
Whether you are hiring a licensed electrician or doing the prep work yourself, knowing each phase helps you stay on schedule and ask the right questions. Electrical safety at home starts with understanding the process before anyone picks up a tool.
-
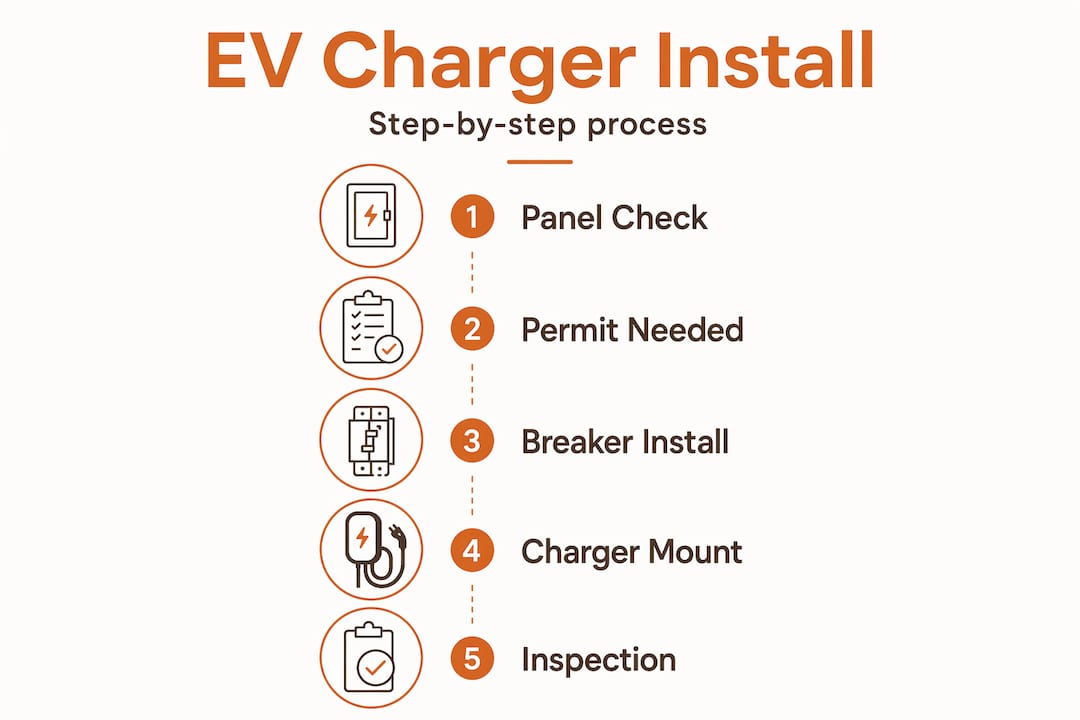
Assess your panel capacity (30 to 60 minutes). Confirm available breaker slots and run a load calculation. Decide on charger amperage based on your vehicle’s onboard charger rating.
-
Select your charger and installation method (1 to 2 hours of research). Choose between hardwired or plug-in based on your amperage needs and whether you may move in the next few years.
-
Pull your permit (1 to 5 business days). Submit your permit application to your local building or electrical department. Most jurisdictions require this before any work begins.
-
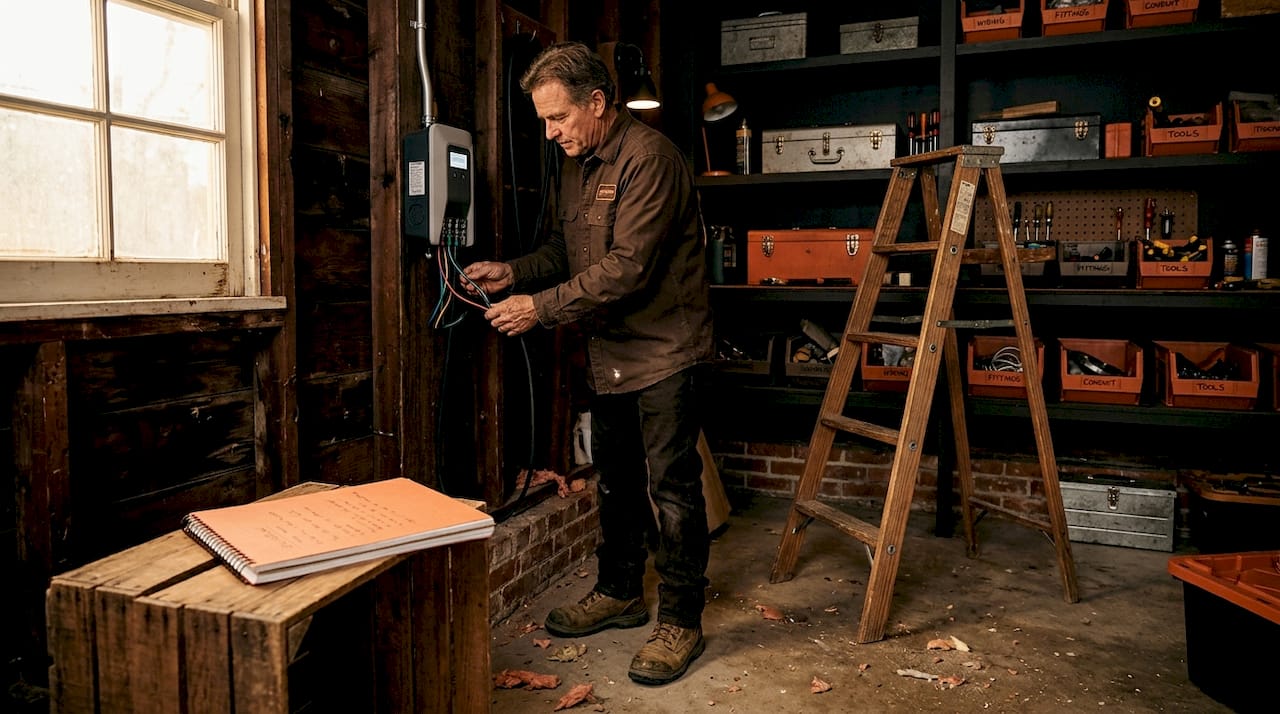
Run wiring from the panel to the charger location (1 to 3 hours of labor). Your electrician runs conduit and pulls wire from the panel to your garage or parking area. Wire gauge must match the breaker size.
-
Install the breaker and outlet or hardwire the unit (30 to 90 minutes). The new dedicated breaker goes into the panel. For plug-in setups, the NEMA 14-50 outlet is mounted and wired. For hardwired units, the EVSE connects directly.
-
Mount the charger and make final connections (30 to 60 minutes). The EVSE unit mounts to the wall at a comfortable height. Wiring connections are made per manufacturer specs.
-
Set the charger’s current limit and label the equipment (15 minutes). This step is often skipped, but NEC 625.42 requires that any adjusted current limit be reflected on the equipment label. Missing this is a common reason inspections fail.
-
Schedule and pass inspection, then energize (1 to 3 business days for scheduling). The inspector verifies wiring, breaker sizing, GFCI compliance, and labeling. Once approved, you flip the breaker and charge.
Total labor after permits are secured typically runs 2 to 6 hours for a straightforward installation. Complex runs, outdoor setups, or panel upgrades add time.
Pro Tip: Hiring a licensed electrician almost always results in a cleaner inspection pass. They know local code amendments that go beyond the base NEC, and their work is typically insured.
Common challenges and mistakes to avoid
Even straightforward installs can go sideways. Here is what actually trips people up.
Panel miscalculations and unnecessary upgrades
Some contractors quote a panel upgrade before checking whether one is actually needed. Run your own NEC 220.82 calculation or get a second opinion. Most installation cost surprises come from upstream electrical constraints, not from the physical wiring labor itself.
Skipping permits and using non-listed equipment
It feels like a shortcut, but skipping the permit creates real problems. If your home is ever sold or if a fire occurs, an uninspected installation can void your homeowner’s insurance and complicate the sale. Always verify that your EVSE carries a UL listing or equivalent, as NEC 625 mandates listed equipment only.
Outdoor installation pitfalls
Outdoor EV charger installations are a different animal. They require weatherproof enclosures rated NEMA 4 or better, longer conduit runs, and often a GFCI breaker at the panel. Outdoor installs typically cost $500 to $1,000 more than indoor setups, and DIY is not recommended for anything outside a garage.
Here is a quick comparison to help you decide on your approach:
| Factor | Plug-in (NEMA 14-50) | Hardwired |
|---|---|---|
| Max continuous output | 40A (on 50A breaker) | 48A or higher |
| Portability | Easy to move | Requires rewiring |
| Installation complexity | Lower | Moderate to high |
| Best for | Renters, lower mileage drivers | Homeowners, high mileage drivers |
| Code considerations | GFCI required on receptacle | Direct panel connection, no outlet needed |
Pro Tip: Before purchasing any charger, verify it carries a UL or ETL listing. Non-listed equipment will fail inspection and may not be covered under your homeowner’s policy.
Benefits and what to expect after installation
Once your home charging solution is live, the difference is immediate. You wake up every morning to a full battery, no detours to public charging stations required.
Charging speed and range gains
A Level 2 charger adds roughly 2 to 4 miles of range per hour of charging, depending on your vehicle’s onboard charger and the EVSE amperage setting. For most drivers covering 30 to 50 miles daily, an overnight charge on a Level 2 unit is more than sufficient.
Cost savings and electric bill impact
Home charging during off-peak hours is significantly cheaper than public DC fast charging. Many utilities offer time-of-use rates that drop overnight electricity costs by 30% to 50%. Pair that with the Section 30C federal tax credit, which covers 30% of your installation costs up to $1,000 through June 30, 2026, and the payback period shortens considerably.
If you are still weighing whether an EV makes financial sense overall, Stacyknows has a detailed breakdown of EV ownership costs in 2026 worth reading before you commit.
Ongoing maintenance tips
Home EV chargers are low maintenance, but a few habits keep them running well:
- Inspect the charging cable for wear or cracking every few months
- Keep outdoor units clear of debris and check weatherproof seals annually
- Avoid coiling the cable tightly, which stresses internal wiring over time
- Reset the charger if it stops communicating with your vehicle (a simple breaker cycle usually fixes this)
- Check for firmware updates if you have a smart home EV charging unit with Wi-Fi connectivity
The professional installation cost of $1,200 to $3,000 sounds significant upfront, but when spread across years of cheaper home charging, most drivers recover that cost within two to four years.
My honest take on what most guides get wrong
I’ve watched a lot of homeowners go into this process focused on the charger itself, comparing specs and brands, when the real story is almost always about what is already in their walls. The permit and panel assessment are the true bottlenecks. The physical wiring takes a few hours. Getting a permit approved and an inspection scheduled can take a week or more depending on your city.
In my experience, hardwiring is almost always the better long-term call for homeowners who plan to stay put. The plug-in setup feels flexible, but that flexibility comes at the cost of maximum charging speed. If you ever upgrade to a vehicle with a larger onboard charger, you will wish you had hardwired from the start.
The other thing I see people skip is the upfront load calculation. They call a contractor, get a quote that includes a panel upgrade, and just accept it. A proper NEC 220.82 calculation might reveal you have plenty of capacity already. That calculation could save you $1,500 or more.
One more thing worth saying: cheap receptacles and non-listed chargers are not worth the risk. The savings evaporate the moment you fail an inspection or, worse, deal with a wiring issue down the road. Buy listed equipment, pull the permit, and do it once correctly.
— Stacy
Ready to take the next step?
Planning to install an electric vehicle charger at home does not have to feel overwhelming. Virtual scoping platforms now handle everything from upfront quotes to permit coordination and installation scheduling, reducing the back-and-forth that used to frustrate homeowners most. That means less time managing contractors and more time actually driving.

At Stacyknows, we pull together the practical guidance you need to make confident decisions about your home and lifestyle. Whether you are comparing the best home EV chargers, calculating your real installation budget, or figuring out how to claim your federal tax credit before the June 2026 deadline, we have you covered. Explore more lifestyle and home guides at Stacyknows and bookmark the resources that matter most to you.
FAQ
How much does it cost to install a home EV charger?
A professional Level 2 home EV charger installation typically costs between $1,200 and $3,000, including equipment, labor, and permits. Panel upgrades, if needed, can add significantly to that total.
Can I install an EV charger myself?
DIY EV charger installation is possible for experienced homeowners with electrical knowledge, but most jurisdictions still require a permit and inspection. Outdoor installations and panel work should always be handled by a licensed electrician.
What electrical requirements do I need for a home charging station?
You need a dedicated 240V circuit with a 40A or 50A breaker, sized at 125% of the charger’s maximum load per NEC 625. Your panel must have sufficient capacity to support the new circuit without exceeding its rated load.
Is a hardwired or plug-in EV charger better for home use?
Hardwired chargers support higher amperage and are more reliable for long-term daily use. Plug-in NEMA 14-50 setups are easier to move and work well for renters or lower-mileage drivers, but are capped at 40A continuous output.
What tax credits are available for home EV charger installation in 2026?
The federal Section 30C Alternative Fuel Vehicle Refueling Property Credit covers 30% of residential EV charger installation costs up to $1,000, available through June 30, 2026. Many utilities also offer separate rebates that can further reduce your out-of-pocket cost.
Recommended
- Is It Worth Getting an Electric Car in 2026? Pros, Cons & Costs Explained – Stacyknows
- Essential Electrical Safety Measures Every Home Should Follow – Stacyknows
- Tips for Choosing Energy-Efficient Windows – Stacyknows
- Beginner Tips For Planning A Backyard Shed Build
Article generated by BabyLoveGrowth
